Disclosure: This post contains affiliate links, meaning, at no additional cost to you, we will earn a small commission if you click through and make a purchase. Learn more
Rather than fight local zoning laws for a bigger shed, extending just the roof gave a small backyard shed real extra shelter — finished in 3 days, on a tight budget.
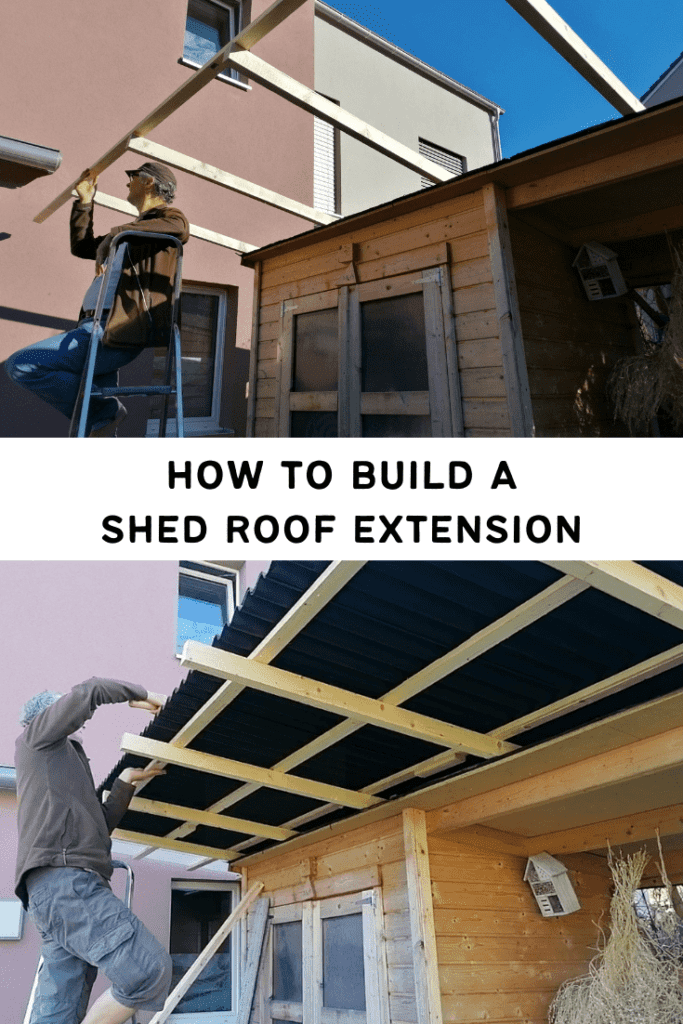
A backyard shed is the perfect storage place for garden tools and gardening supplies. Since the shed here has a small surface area, a roof extension made practical sense for several reasons. Follow these steps to learn how to build a shed roof extension for an existing garden shed.
Table of Contents
Why Did We Extend Our Shed Roof?
The garden shed here is quite small, but somehow manages to hold the essential tools. For a while, some extra space was wanted, without breaking local planning laws — the solution was to work around that by extending only the roof.
A robot lawn mower had been a casualty of constant rain exposure, and the roof extension now gives it proper shelter. During winter months, the robot gets stored in the cellar instead, since there’s no lawn to cut, so this project was taken on toward the end of the previous summer.
The small garden shed, before this roof extension, had to adhere to local zoning laws when it was originally built about 4 years earlier — the backyard stream falls under conservation laws, which limits what can be built. Before the extension, the robot had no shelter at all.
How We Built the Shed Roof Extension
Disclosure: This post contains affiliate links, meaning, at no additional cost to you, we will earn a small commission if you click through and make a purchase. Learn more
This was a simple, straightforward extension, and staying within budget meant sticking to basic materials throughout.
Extension Ladder or other ladder, depending on the height of the structure
Heavy shears or scissors
Steps to Build the Shed Roof
Supplies List
Rafters (6cm x 4cm)
Lathing (5cm x 2.5cm)
Corrugated asphalt sheets
Fiber glass sheet (for light)
Galvanized screws
Roofing rubber seal
Instructions
Step 1 – Fix the Rafters to the Roof Extension:
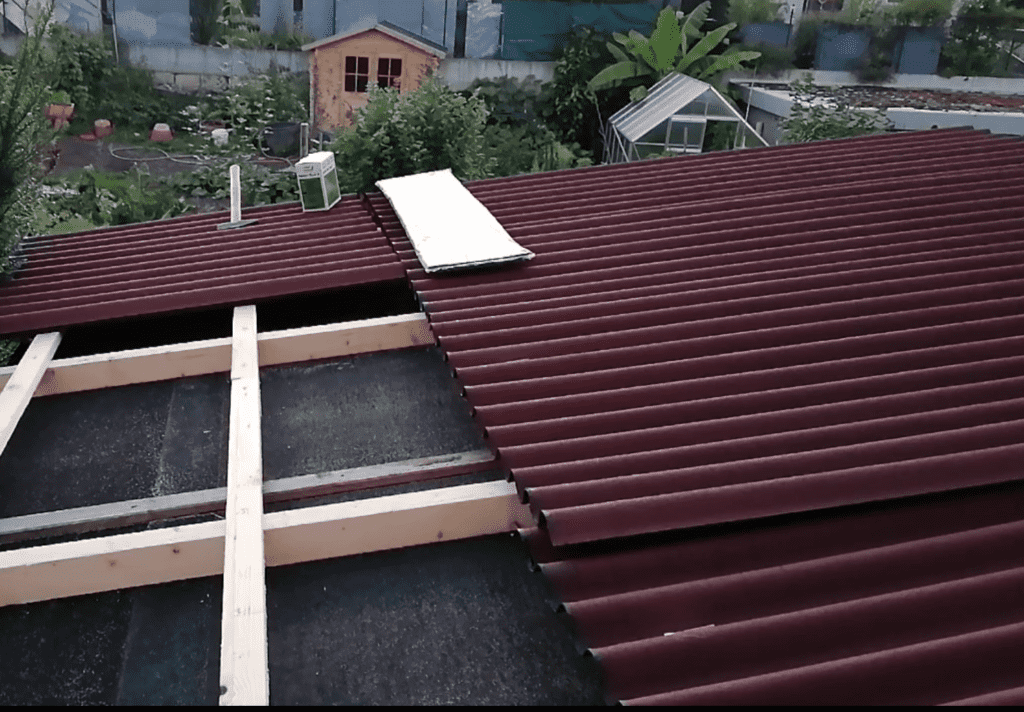
Remove the existing roofing sheets before fixing the rafters. Since the existing roof was already a lean-to, not much extra work was needed there — rafters and lathing were fixed directly on top of the existing structure. A lean-to roof will typically lay at a different pitch than the existing roof, so cut back the existing roofing if needed so the new roof fits correctly beneath it.
Step 2 – Lay Out the Rafter Spacing:
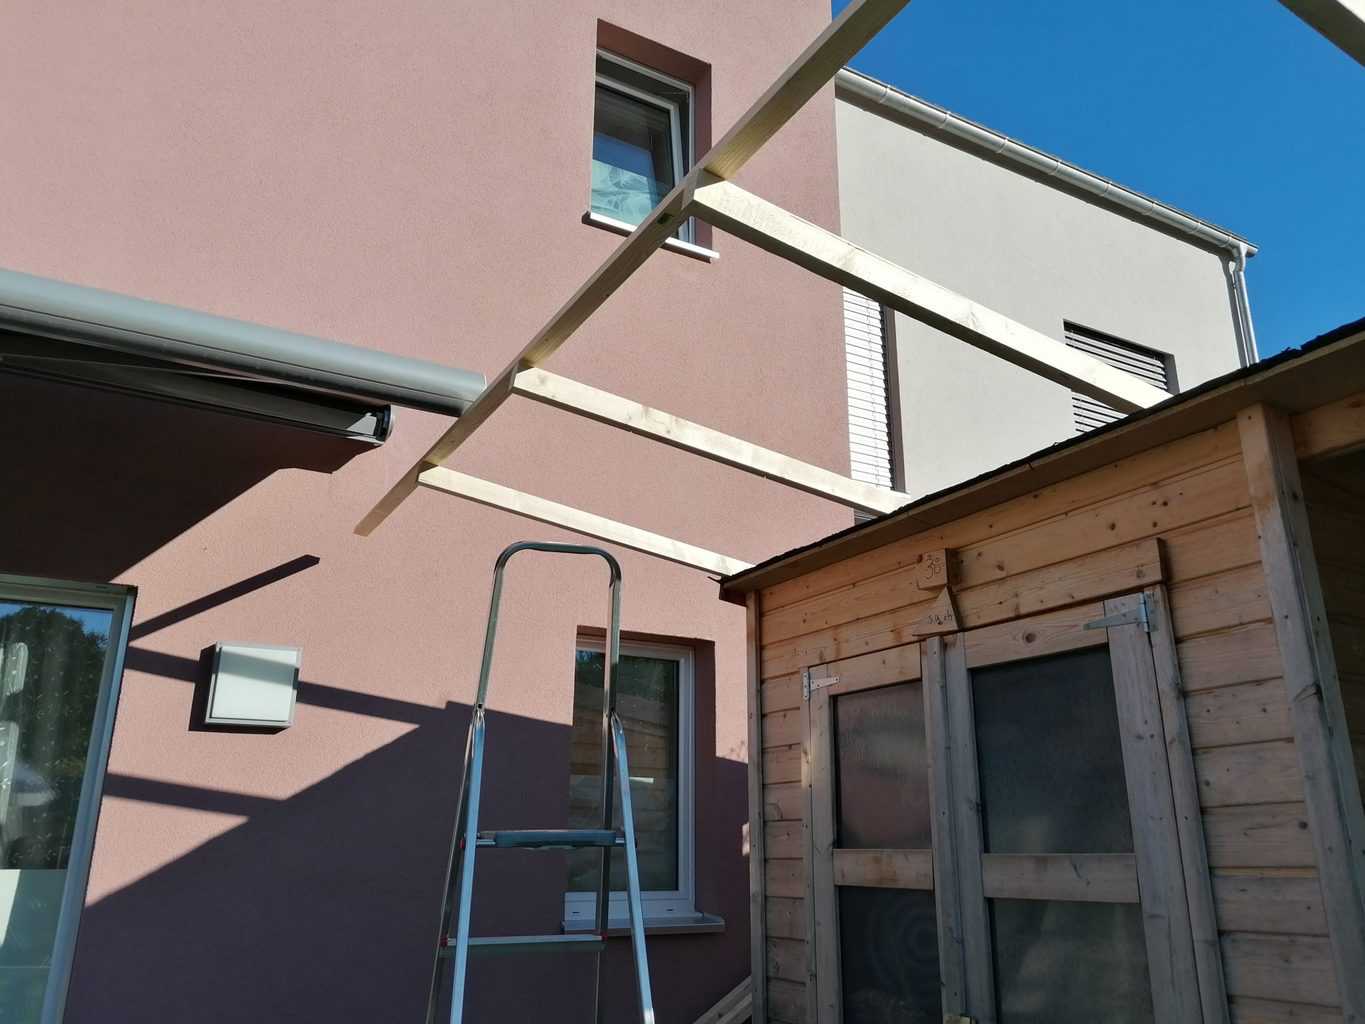
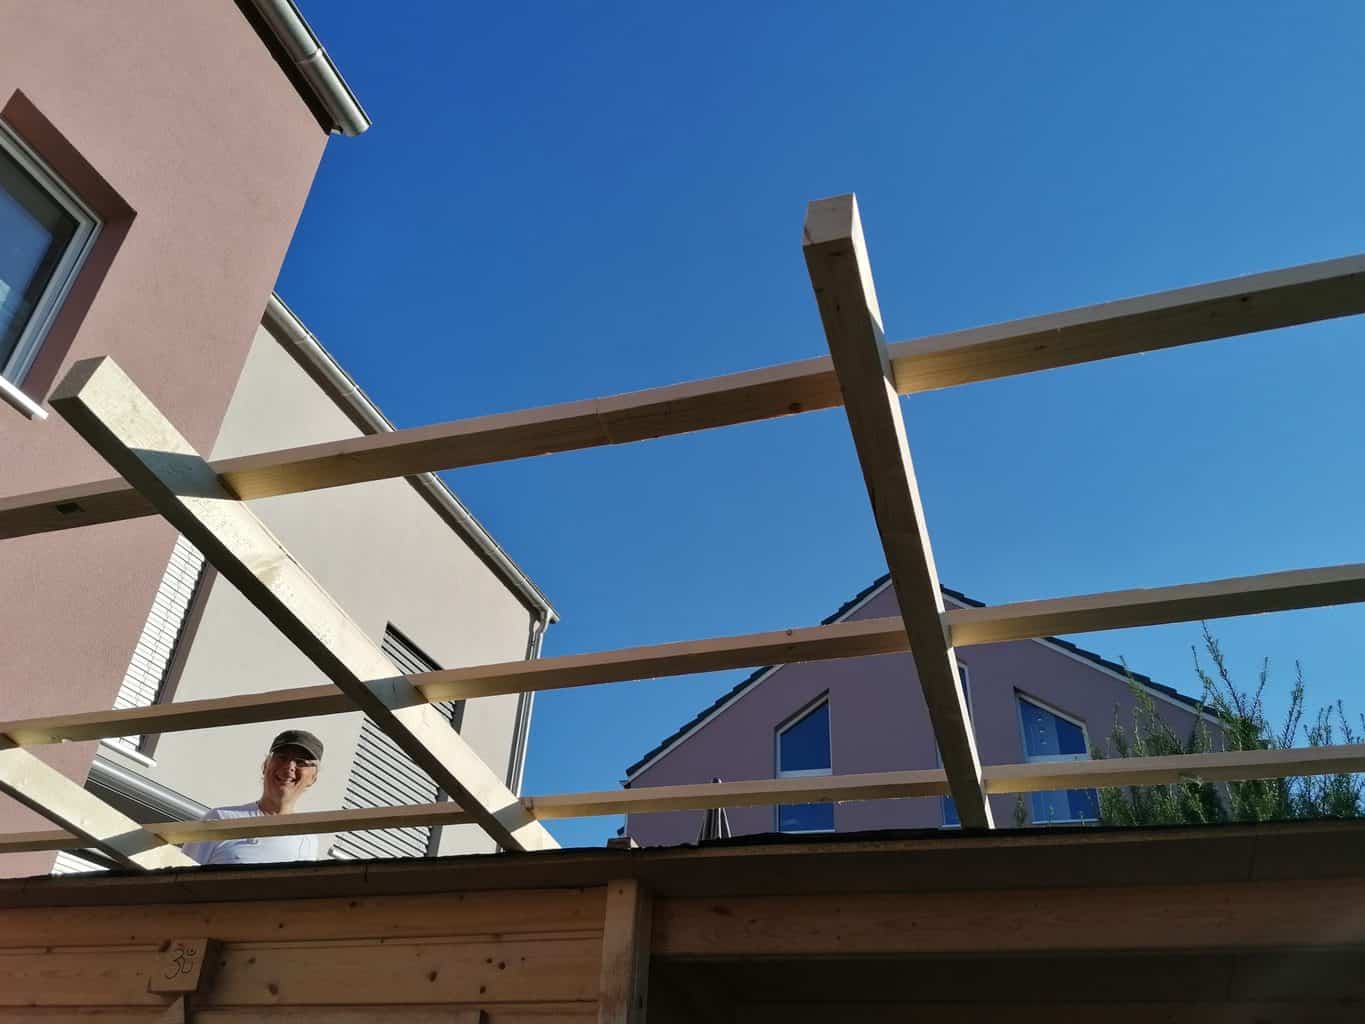
Starting at one end, measure the span from your plans, then lay out the lathing spacing. Rafters were placed 90cm apart on the existing roof, with lathing — the strips that run perpendicular to the rafters, holding the roofing material — spaced 50cm apart. Nail the lathing securely, with at least two nails at each rafter, keeping everything aligned. For a better fit, a groove was cut into the rafter to seat the lathing before nailing it in.
Step 3 – Add the Roofing Material:
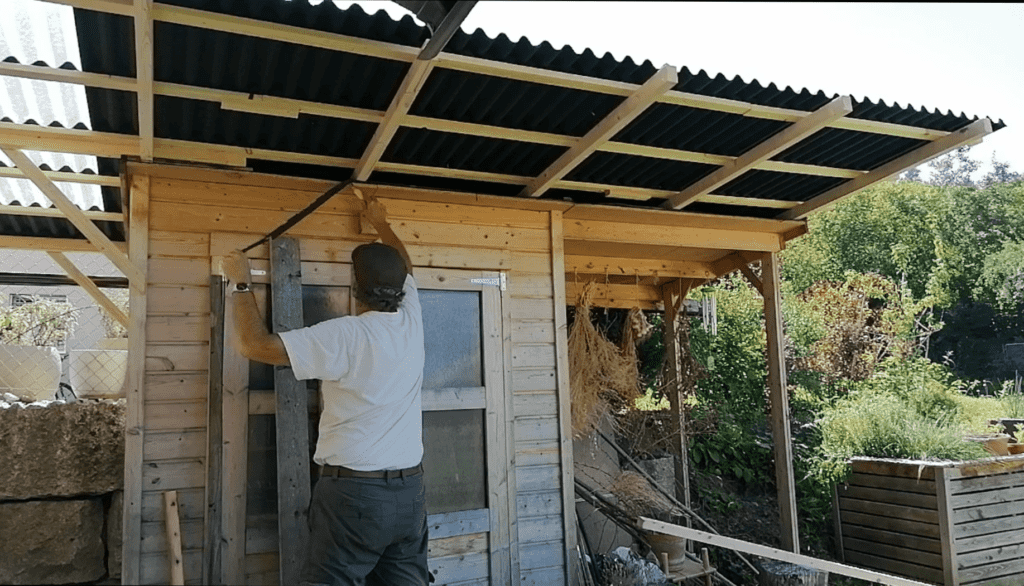
Lay the metal sheets onto the lathing, starting from one end. Some roofing profiles have a direction of run, so the laps need to line up correctly for a good, weatherproof result. Fasten the metal roofing with a suitable fastener — wood screw threaded hex screws with neoprene gaskets work well for this.
Step 4 – Fix a Transparent Roof Panel for More Light:
Since the shed sits close to a guest washroom, a transparent fiber glass roof panel was fixed in that section — the regular roofing had been compromising natural light in that room. Removing it and replacing it with a transparent panel solved the problem. Where this isn’t an issue, regular roofing sheets work fine throughout.
Step 5 – Install the Trim:
Install trim of your choosing to finish off the lean-to roof. The existing trim was polished up a little and fixed back onto the structure here, giving a decent, finished appearance.
Step 6 – Seal the Gap Between the Roof and the Lathing:
Use a special roofing rubber seal to close the gap between the metal and the lathing — available as rubber or foam strips at most DIY centers. This keeps water from blowing in through the gap.
Our Plan for the Roof Extension
Once you’ve chosen a roof framing and materials suitable for your shed, draw up a plan — a simple hand-drawn sketch on paper works fine, or a computer-made graphic plan if preferred. From there, it’s a matter of following a series of steps according to that plan.
In this case, the existing shed roof measured 3.5m by 1.5m, and the extension added 1 meter to the side and 1 meter to the front. That called for a grid of 6 x 6, with 6 rafters and 6 lathing strips.
Tips for a Shed Roof Extension
Work with the existing pitch: a lean-to roof usually sits at a different pitch than the existing structure, so cut back the old roofing if needed to fit the new one correctly underneath. Groove the rafters for a better fit: cutting a groove for the lathing before nailing it in gives a cleaner, more secure result. Use gasketed screws: wood screw threaded hex screws with neoprene gaskets hold metal roofing securely and help keep it weatherproof. Don’t skip the seal: a rubber or foam roofing seal between the metal and the lathing keeps water from blowing in through the gap.
Watch the Video
Your feedback is valuable
Thank you so much for visiting Vital Fair Living – we’re so happy you’re here! and thanks for taking the time to read – How to build a shed roof extension. I would love it if you can share this post using the social media buttons.
Frequently Asked Questions
How Long Does a Shed Roof Extension Take to Build?
This particular extension was finished in about 3 days, using basic materials and tools while staying within budget.
Why Add a Transparent Panel to a Shed Roof?
A transparent fiber glass panel lets more natural light through, which is useful if the shed sits close to a window or room that would otherwise lose light from a regular roof.
How Do You Seal a Shed Roof Extension Against Water?
A special roofing rubber or foam seal, available at most DIY centers, closes the gap between the metal roofing and the lathing to keep water from blowing in.
This is a great guide for anyone who is looking to add some extra storage space to their shed. I especially appreciate that you used basic materials and tools, as this makes the project more accessible to DIYers of all skill levels.
In the shed roof extension that I built, I found that the most challenging part was [mention a specific step you found difficult in the article, e.g., removing the roofing sheets or laying out the rafter spacing]. Do you have any recommendations for making this step easier?












This is a great guide for anyone who is looking to add some extra storage space to their shed. I especially appreciate that you used basic materials and tools, as this makes the project more accessible to DIYers of all skill levels.
In the shed roof extension that I built, I found that the most challenging part was [mention a specific step you found difficult in the article, e.g., removing the roofing sheets or laying out the rafter spacing]. Do you have any recommendations for making this step easier?