Disclosure: This post contains affiliate links, meaning, at no additional cost to you, we will earn a small commission if you click through and make a purchase. Learn more
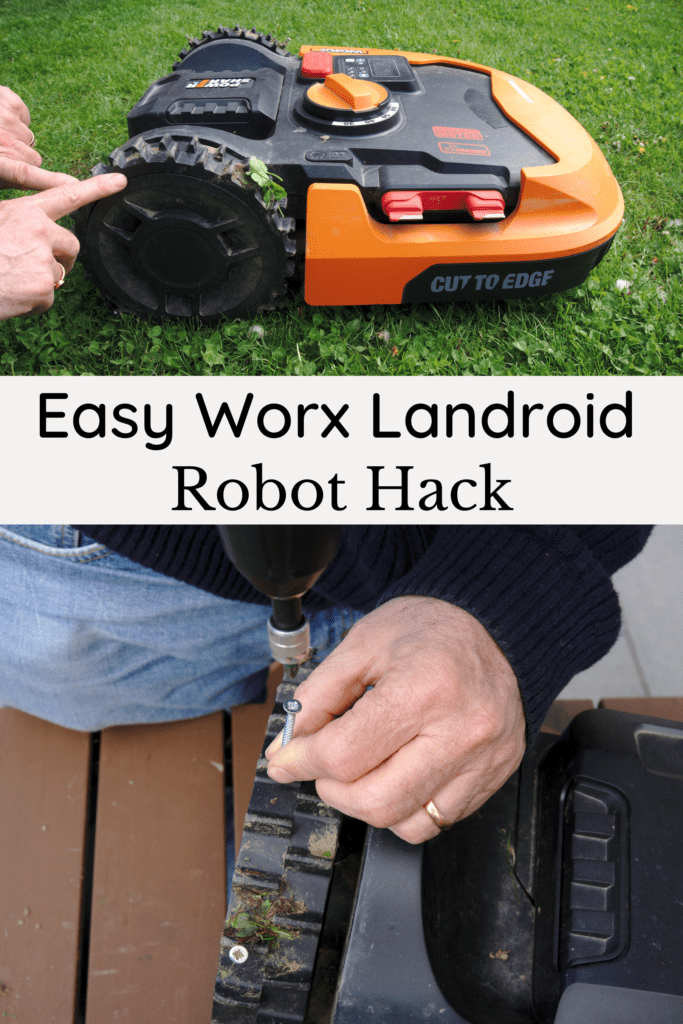
A simple screw-and-spike hack solved a real problem with a Worx Landroid robot lawn mower getting stuck on sloped patches — an inexpensive fix that saved buying a whole new robot.
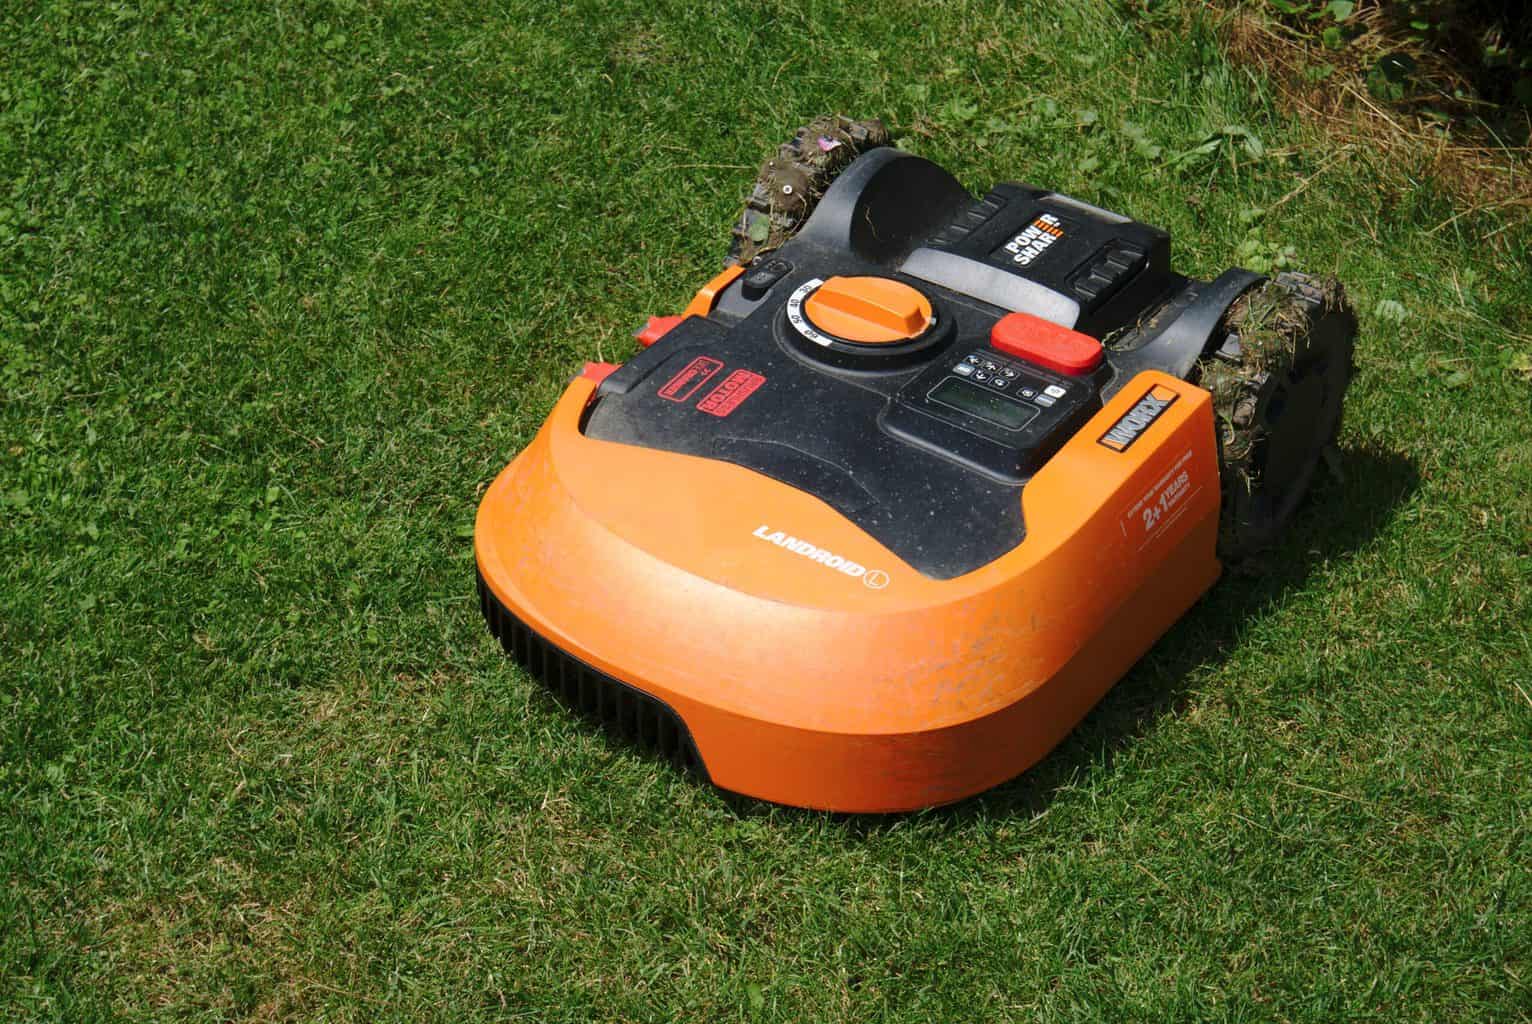
Since moving into the present home, a Worx Landroid robotic lawn mower has been in regular use. It’s battery operated, silent, and saves real time compared to mowing by hand. The one problem: sloped patches in the lawn kept getting the robot stuck. A husband came up with this hack to solve it, and the result is a much more efficient robot and a genuine time saver.
Table of Contents
Why Worx Robotic Lawnmower?
Mowing the lawn with a conventional mower wasn’t exactly a favorite chore, so a Worx Landroid Robotic lawnmower took over that job instead — no more complaining about an overgrown lawn. In an old home, an electric mower meant doing it manually, and with mowing happening only once every 2 weeks, more weeds always had time to come up in between.
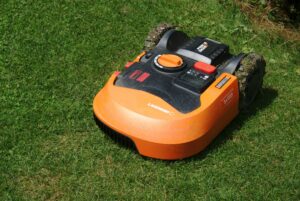
The specific model here is the WORX Landroid L WR147E, and this small hack was necessary to get it working efficiently for this particular lawn.
Pros and Cons of a Robotic Lawnmower
This post contains affiliate links, for which a small commission is earned at no extra cost to you.
Instead of cutting deep into the lawn, the Landroid trims less but more frequently, leading to more even coverage and healthier grass, with less chance for weeds to take hold. The fine clippings get redistributed onto the lawn too, acting as a useful nutrient. Unlike most robotic mowers, it has full turning capacity and can turn at right angles, reaching every corner, and it returns to its charging station on its own once the battery runs low. It’s silent too — a neighbor has a Gardena model instead, which is noticeably loud by comparison.
The one real downside was the robot frequently getting stuck and damaging parts of the lawn, especially on the sloped bits — which is exactly what this hack was built to solve.
How to Fix a Worx Landroid That Keeps Getting Stuck
Supplies List
WORX Landroid L WR147E
2 inch screws
Cordless screwdriver
Instructions
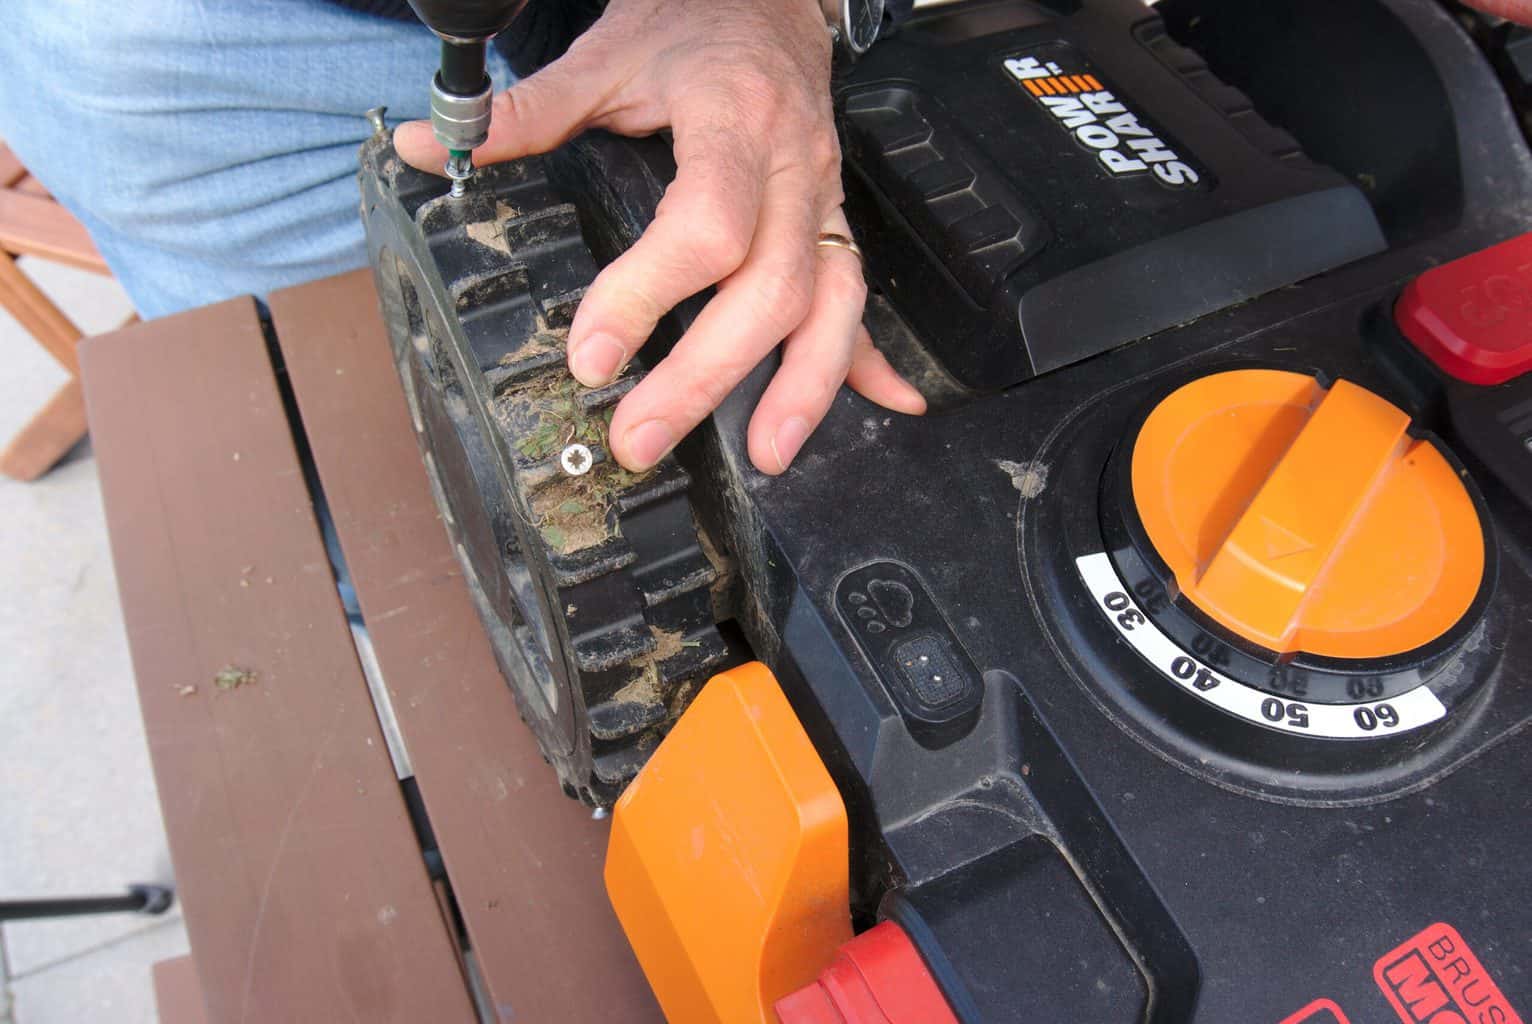
Step 1 – Screw Every Fourth Spike:
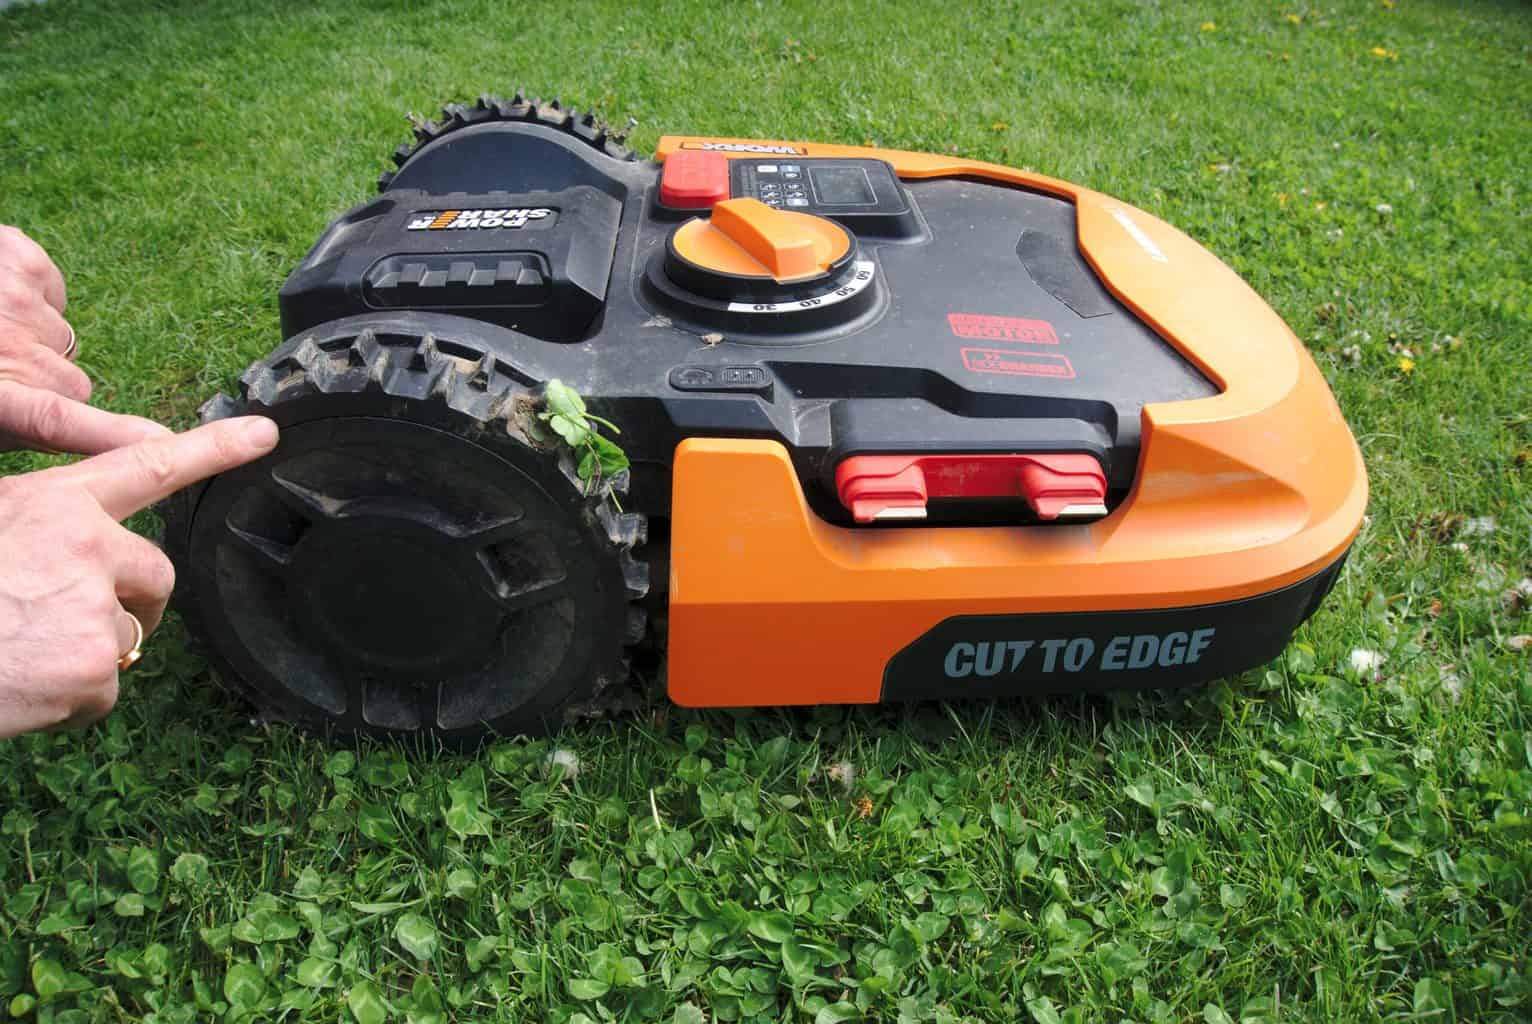
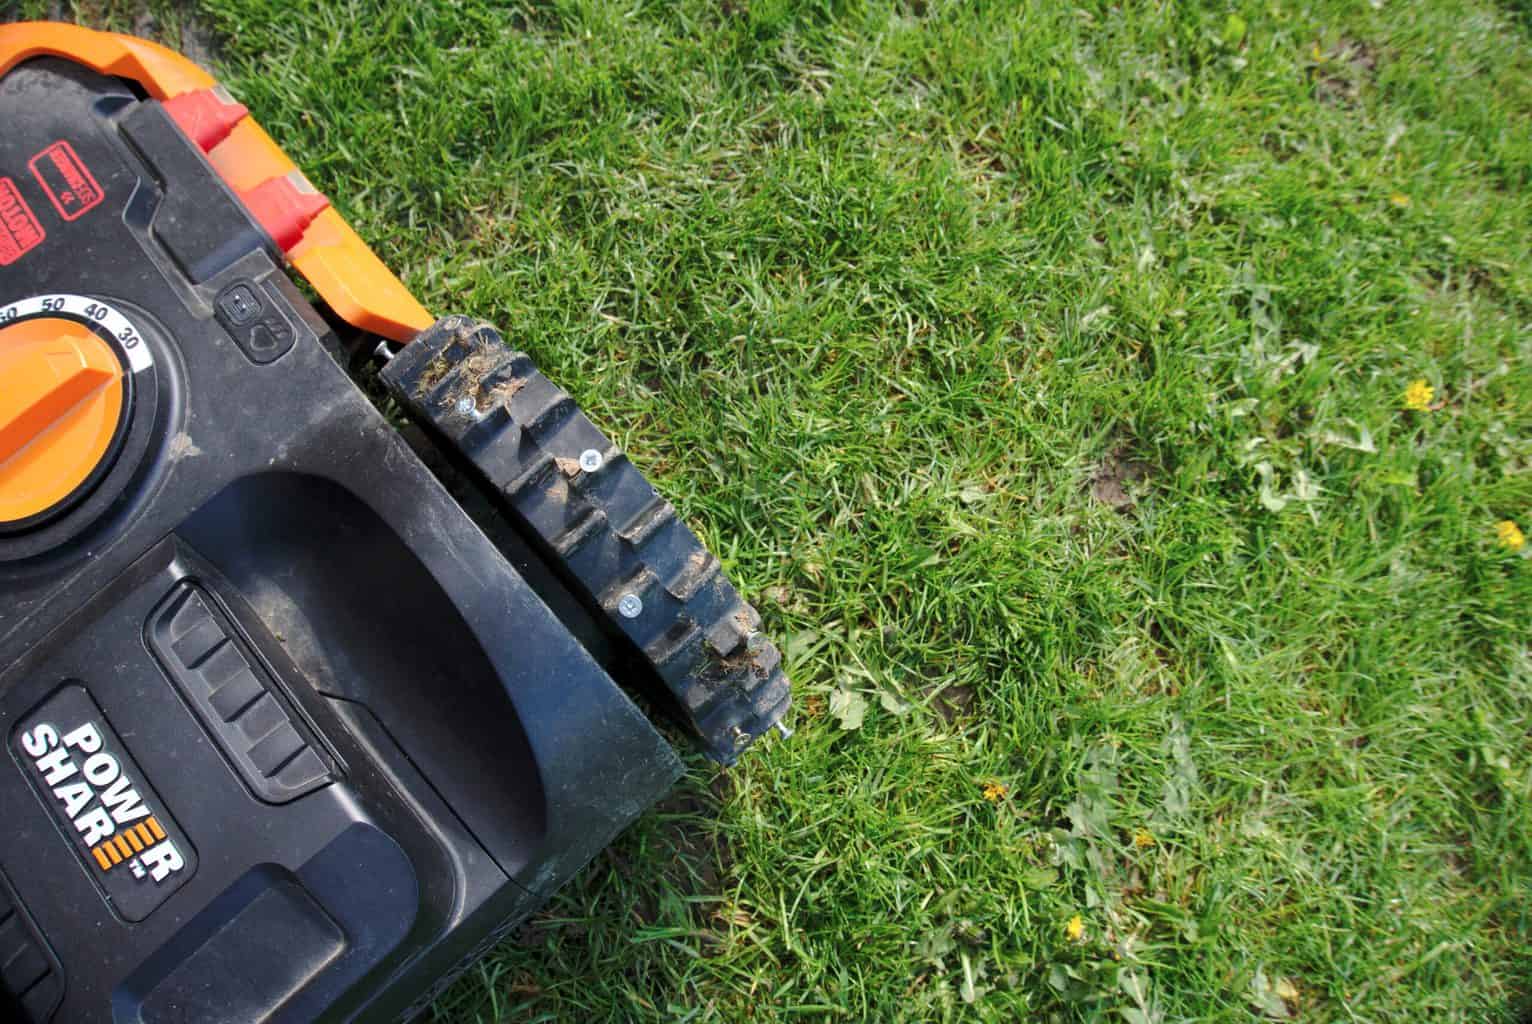
Screw a 2 inch screw onto every fourth spike. If the robot runs without any hiccups after this, step 2 can be skipped. In this case, it still wasn’t moving smoothly, so screws went into every second spike instead.
Step 2 – Screw Every Second Spike:
Fix a screw on every second spike instead. The difference in how the robot moves shows up immediately.
Step 3 – Remove the Screw Heads:
Remove the screw heads so the wheels get a better grip, and so the screws have enough clearance from the orange hood to move freely. Let the robot run after this.
A Small Trade-Off Worth Making
This kind of fix comes at a small cost to the wheels over time, but that’s a far better trade-off than replacing an entire robot every couple of years — wheels are inexpensive and easy to swap out. This is actually the second Worx Landroid used here, and replacing a whole lawnmower costs a lot more than a set of wheels.
Tips for the Worx Landroid Screw Hack
Start with every fourth spike: if that alone solves the sticking problem, there’s no need to go further. Move to every second spike if needed: the difference in smoothness shows up right away. Remove the screw heads: this improves wheel grip and gives the screws enough clearance to move freely against the hood. Expect some wheel wear: it’s a worthwhile trade-off, since wheels are cheap and easy to replace compared to a whole new robot.
Tools You May Need
This post contains affiliate links, for which a small commission is earned at no extra cost to you.
Have some feedback you’d like to share? Leave a note in the comment section below! Thank you so much for visiting Vital Fair Living – we’re so happy you’re here! and thanks for taking the time to read this post. I would love it if you can share this post using the social media buttons.
Frequently Asked Questions
Why Does a Worx Landroid Get Stuck on Slopes?
The spikes on the wheels can lack enough grip on sloped or difficult patches, causing the robot to spin or get stuck rather than move through.
How Many Spikes Should You Add Screws To?
Start with every fourth spike — if that solves the problem, stop there. If the robot still isn’t moving smoothly, add screws to every second spike instead.
Does This Hack Damage the Wheels?
It causes some wear over time, but wheels are inexpensive and easy to replace — a much better trade-off than replacing an entire robot lawnmower every couple of years.