Sharing is caring

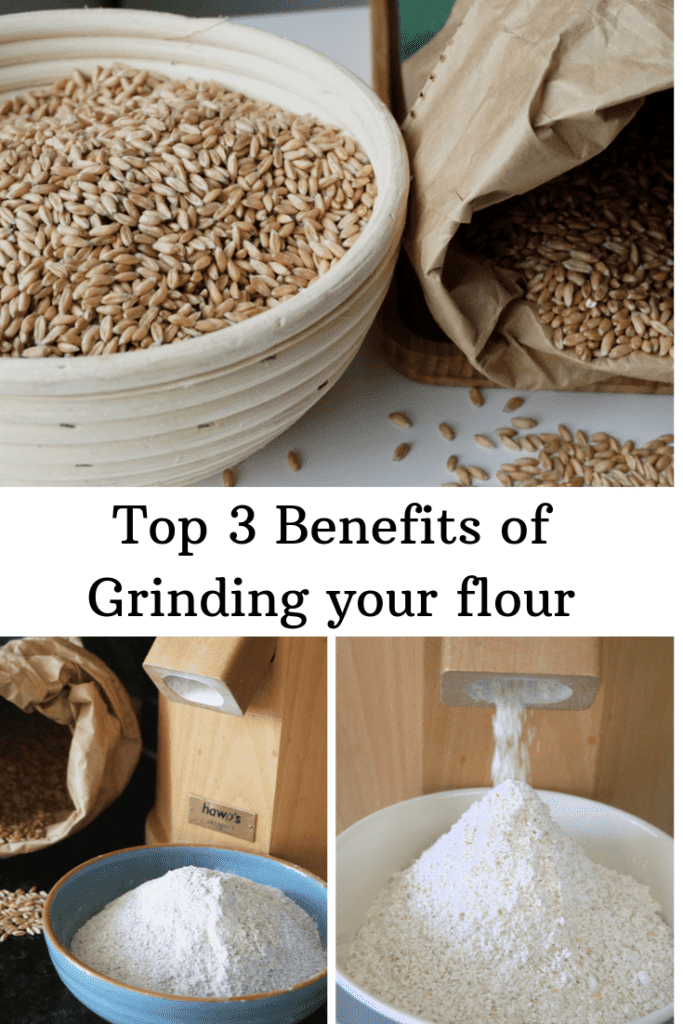
Top 3 Benefits of grinding your own flour

Disclosure: This post contains affiliate links, meaning, at no additional cost to you, we will earn a small commission if you click through and make a purchase. Learn more

These are the top 3 benefits of grinding your own flour at home with a Hawos Oktagon mill — better taste, more fiber and nutrients, and real cost savings — plus a spelt bread recipe to put fresh flour to use.

Top 3 benefits of grinding your own flour

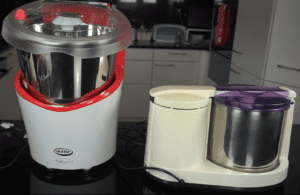
Though not a medical expert, the benefits of home-ground flour are hard to debate. This journey started with the purchase of a Hawos Oktagon grain mill, covered in an earlier tutorial post. This post touches on the top 3 benefits of grinding your own flour at home, along with a few tips on storing grains optimally, and a recipe to bake bread from freshly ground flour.

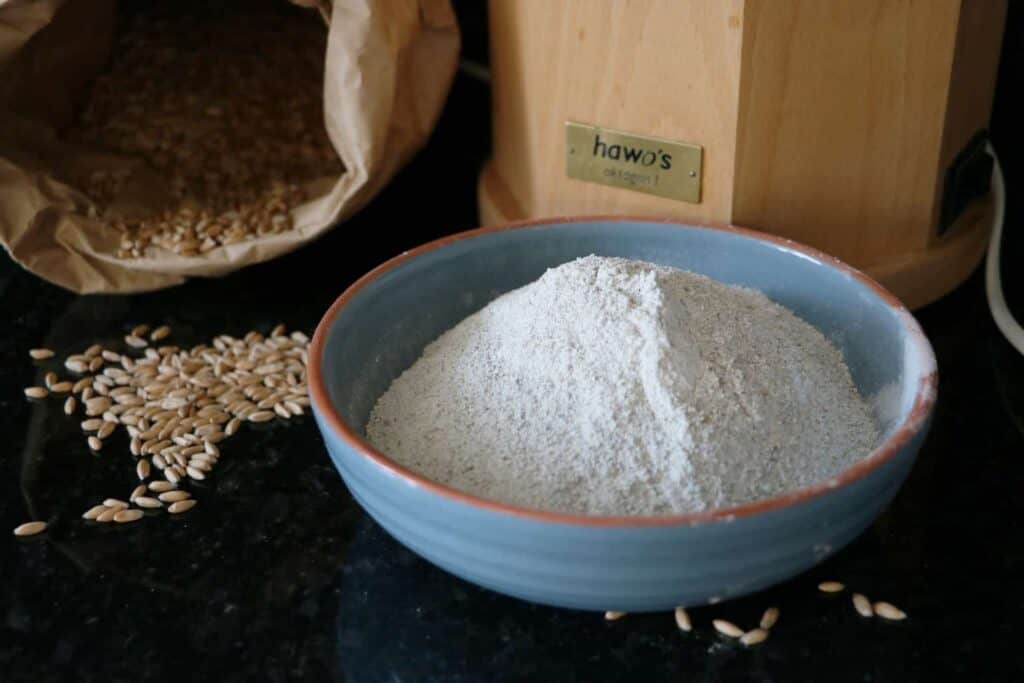
The Hawos Oktagon 1 is probably one of the top kitchen essentials in this Swiss kitchen, used mainly to grind flour for breads, cakes, and cookies. Without claiming any medical authority, here are the 3 top benefits of grinding your own flour, according to personal experience and many other experts.

Table of Contents

One: Taste Benefits of Home Ground Flour

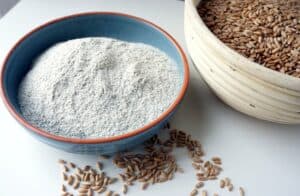
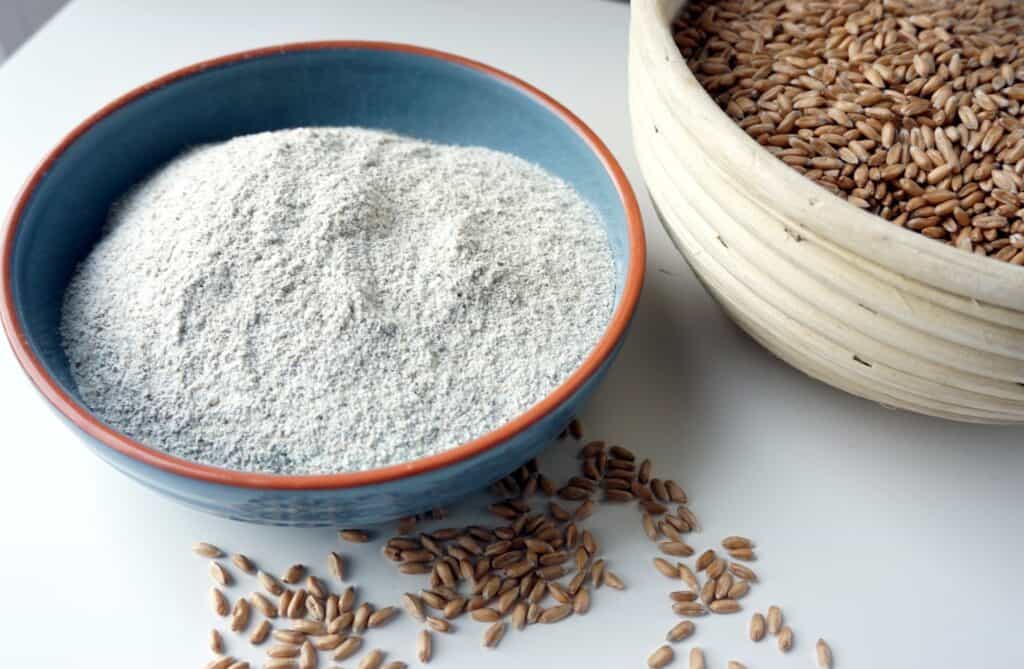
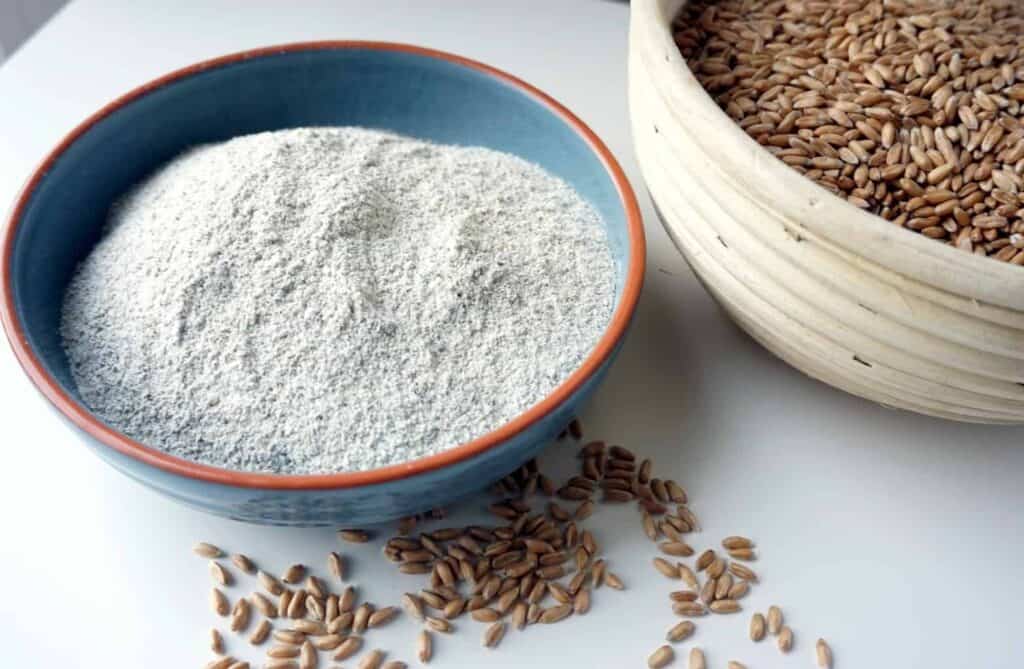
The first benefit of grinding your own flour is the nutty taste of freshly ground flour, which mainly comes from the wheat germ — rich in B vitamins, important antioxidants, vitamin E, and polyunsaturated fatty acids. Commercially ground flours go through a lot of pressure, heat, and additives to protect quality and shelf life. As soon as a grain is cracked and exposed to air, the oils inside the bran begin to oxidize, and the flour goes rancid quickly.

Grinding your own flour keeps all those nutrients intact, and it’s always fresh. The taste and smell of freshly ground flour is something worth genuinely appreciating — once you get used to it, commercially ground flour is hard to go back to.

Two: Nutritional Benefits of Fiber from Grinding Your Own Flour

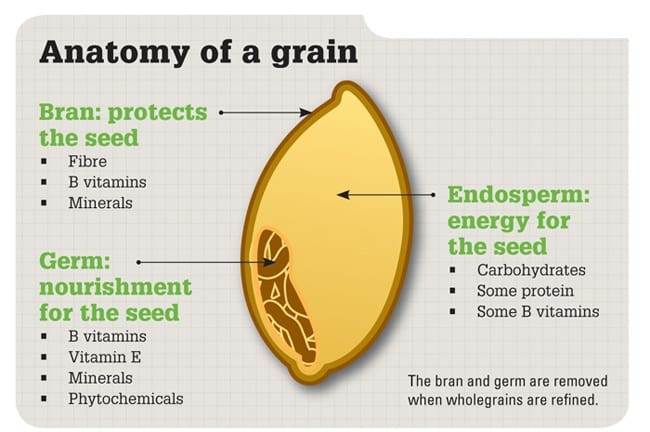
Milling your own flour means getting the nutritional value of the complete grain — including the bran, which holds the largest share of insoluble fiber, magnesium, riboflavin, thiamine, niacin, iron, and zinc. The germ is an excellent source of vitamins B1, B2, B3, and E, along with magnesium, iron, zinc, phosphorus, and polyunsaturated fatty acids. The endosperm, the middle layer, contains mostly protein and carbohydrates, with smaller amounts of B vitamins, iron, and soluble fiber.

With the rise of industrial milling in the late 1800s, the bran and germ started getting removed, leaving just the endosperm — what’s known today as all-purpose white flour. This flour is stripped of those beneficial nutrients, leaving mostly starch, and fiber plays a genuinely important role in gut health and digestion. The upside of this stripped-down flour is shelf life, since it can survive months of transport and storage — but the trade-off is losing the insoluble fiber and minerals essential for proper digestion and nourishment.

How to Make Spelt Bread from Freshly Ground Flour?

Ingredients List

  • 350g spelt grains
  • 6g salt, 7g sugar
  • 1 tbsp oil
  • Chia & flax seeds (optional)
  • 10g fresh yeast
  • Water, as needed

Cooking Instructions

  • Activate the Yeast:

    Mix the sugar into the yeast with a little room-temperature water and set it aside.

  • Grind the Flour:

    Grind 125g of the spelt grains at a fine setting (2) in your grain mill, then grind the remaining spelt grains at a coarser setting (3 to 4).

  • Combine:

    Mix all the ingredients together, keeping the salt to one side — make sure the yeast mixture doesn’t touch the salt directly, since salt will kill the yeast and stop the bread from rising well.

  • Knead:

    Knead well, adding water gradually as you go, until all the flour is incorporated and the dough leaves the sides of the bowl. Be careful not to add too much water. Cover and let it rise.

  • Shape:

    Once the dough has doubled in volume, sprinkle flour onto your work surface and grease a loaf pan. Knead again briefly to knock out the air pockets, then shape the dough by rolling it tightly. Place it into the loaf pan, cover, and let it rise for 15 to 20 minutes.

  • Bake:

    Preheat the oven to 250°C (482°F). The loaf pan helps the bread rise and bake evenly, and keeps it from cracking at the sides. Bake at the highest heat for about 12 minutes to develop a dark crust, then lower the heat to 180°C (356°F) and bake for a further 35 minutes.

  • Check and Cool:

    Remove from the oven and tap the loaf lightly — a hollow sound means it’s done. Cool completely before serving.

Three: Cost Benefits of Milling Your Own Flour

Grinding your own flour also brings real cost savings. Grains are noticeably cheaper than ready-made store-bought flour — in Switzerland, high-quality Demeter spelt grain from biodynamic agriculture costs roughly 6 to 7 CHF at a health food store, while the same quality of spelt flour costs around 10 CHF.

Buying in bulk adds further savings, and cuts down on frequent trips to the supermarket too — saving both time and petrol. Health food stores also make it possible to order 5 or 10kg at a time, working out cheaper than the standard 1kg bags common in supermarkets, with the side benefit of less packaging waste. The mill itself is a real upfront investment, but it pays off over time through the savings on grain, on top of the nutritional benefits of always having freshly ground flour.

How Long to Store Your Freshly Milled Flour

Use flour quickly after milling: flour is best used right after grinding — some sources note wheat flour loses a significant share of its vitamin content within the first 24 hours after milling, and even more within a few days after that.
At room temperature: less than 2 days is ideal, though some sources allow up to 5. If the flour is already soaking in a recipe, like a sourdough starter, rancidity isn’t a concern, since other processes have already begun.
In the refrigerator: up to 10 days.
In the freezer: up to 30 days.
Grind only what’s needed: flour left in the fridge or freezer tends to get forgotten about, so grinding just enough for the recipe at hand works best.

Storing Your Grains for Longer Shelf Life

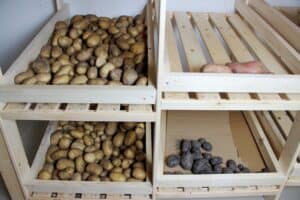
Grains are usually stored in the paper bag they come in, kept in a cellar that runs about 10°C cooler than the rest of the house — a relatively dry space too, which has meant no problems with bugs or moths. If stored well, grains can last for years — some preppers say even more than 3 years. A few tried and tested ways to help grains last longer:

  • Add dry turmeric root or dried neem leaves.
  • Mix in some bay leaves.
  • Freeze the grains for about a week if you have a big freezer, then store them in airtight containers — freezing kills off any larvae or bugs present.

Can You Grind Pearl Spelt?

A reader once asked whether pearl spelt can be ground into flour with a Mockmill. The answer: yes — if a mill can grind wheat, spelt is easy by comparison, since wheat is actually harder than spelt.

Where to Buy the Mill and Wheat Berries

Disclosure: This post contains affiliate links, meaning, at no additional cost to you, we will earn a small commission if you click through and make a purchase. Learn more

The mill used here is the Hawos Oktagon 1, with the Hawos Oktagon 2 as another option. For sourcing wheat berries in Europe, Davert Organic Wheat Berries and Demeter Organic Wheat Berries are both good options, along with cosmoveda.ch.

Watch the Video

Spelt ground with grain mill
Top 3 benefits of grinding your own flour

Recipe Card

Print
clock clock iconcutlery cutlery iconflag flag iconfolder folder iconinstagram instagram iconpinterest pinterest iconfacebook facebook iconprint print iconsquares squares iconheart heart iconheart solid heart solid icon
Top 3 benefits of grinding your own flour

Spelt Bread from Freshly Ground Flour


5 Stars 4 Stars 3 Stars 2 Stars 1 Star

No reviews

  • Total Time: 195
  • Yield: 4 servings 1x
  • Diet: Vegetarian

Description

A simple spelt bread made from freshly milled flour — the natural next step after grinding your own grain at home.


Ingredients

Scale
  • 350g spelt grains
  • 6g salt
  • 7g sugar
  • 1 tablespoon oil
  • 1 tablespoon chia seeds (optional)
  • 1 tablespoon ground flax seeds (optional)
  • 10g fresh yeast
  • Water, as needed

Instructions

  • Activate the Yeast:

    Mix the sugar into the yeast with a little room-temperature water and set it aside.

  • Grind the Flour:

    Grind 125g of the spelt grains at a fine setting (2) in your grain mill, then grind the remaining spelt grains at a coarser setting (3 to 4).

  • Combine:

    Mix all the ingredients together, keeping the salt to one side — make sure the yeast mixture doesn’t touch the salt directly, since salt will kill the yeast and stop the bread from rising well.

  • Knead:

    Knead well, adding water gradually as you go, until all the flour is incorporated and the dough leaves the sides of the bowl. Be careful not to add too much water. Cover and let it rise.

  • Shape:

    Once the dough has doubled in volume, sprinkle flour onto your work surface and grease a loaf pan. Knead again briefly to knock out the air pockets, then shape the dough by rolling it tightly. Place it into the loaf pan, cover, and let it rise for 15 to 20 minutes.

  • Bake:

    Preheat the oven to 250°C (482°F). The loaf pan helps the bread rise and bake evenly, and keeps it from cracking at the sides. Bake at the highest heat for about 12 minutes to develop a dark crust, then lower the heat to 180°C (356°F) and bake for a further 35 minutes.

  • Check and Cool:

    Remove from the oven and tap the loaf lightly — a hollow sound means it’s done. Cool completely before serving.

Notes

Keep the salt separate from the yeast mixture while combining ingredients, since direct contact will kill the yeast and affect the rise.

  • Prep Time: 150
  • Cook Time: 45
  • Category: Breads

Nutrition

  • Serving Size: 4
  • Calories: 70
  • Fat: 1
Your feedback is valuable

If you try this recipe and love it, I would love if you come back and gave it 5 stars! Thank you so much for visiting Vital Fair Living – we’re so happy you’re here! I would love it if you can share this recipe using the social media buttons you see next to the post.

Frequently Asked Questions

The nutty taste mainly comes from the wheat germ, which is rich in B vitamins, antioxidants, vitamin E, and polyunsaturated fatty acids — nutrients that stay intact when you grind your own flour, unlike heavily processed commercial flour.

Less than 2 days at room temperature is ideal, up to 10 days in the fridge, and up to 30 days in the freezer — though using it right after milling is best, since flour loses a significant share of its vitamins within the first day or two.

Yes — spelt is actually easier to grind than wheat, since wheat is the harder grain of the two, so any mill that handles wheat will handle spelt with no trouble.

Leave a Reply
0 0 votes
Article Rating
Subscribe
Notify of
guest
2 Comments
Oldest
Newest Most Voted
Conge Djevdet
Conge Djevdet
4 years ago

can you use pearl spelt to grin into flour with mockmill