Disclosure: This post contains affiliate links, meaning, at no additional cost to you, we will earn a small commission if you click through and make a purchase. Learn more
After building the greenhouse, spring planting for 2019 kicked off with a candle-heated cold snap, a budget drip irrigation build, and a temporary tomato house still awaiting the town planners’ blessing.
After the success of building the greenhouse, it was time to begin the garden season properly with spring planting. With a spell of extreme cold weather still lingering into March, not much was visible in the garden itself yet, so the germination process started indoors with heirloom seeds instead — with some real success along the way.
Table of Contents
Spring Planting Inside the New Greenhouse
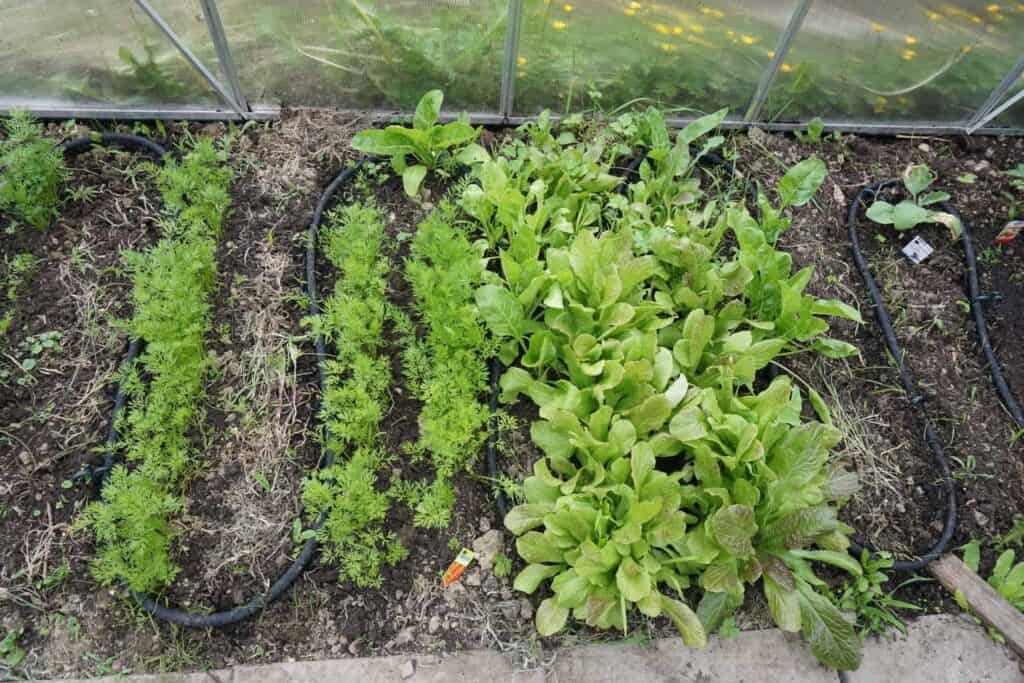
By the beginning of April, heirloom seedlings started going into the greenhouse, germinated first in the warmth of the house before being moved out. After a short run of warm days, temperatures dropped back to winter levels — a real stress for young plants already in the soil, with no way to pull them back out once planted. To combat the temperature shock, the greenhouse got heated with 2 candles, especially overnight, which turned out to be enough for the time being. Temperature got monitored constantly, especially at night, helped along by a remote thermometer that gave a view from inside the warm house — checking the weather forecast became a daily routine too.
Installing Drip Irrigation in the Greenhouse
With a couple of weeks away in the UK planned over Easter, a self-irrigating system became essential — no rainfall reaches inside a greenhouse, so the plants needed a reliable way to get water while away. Watering used to mean dragging a long hose all the way out to the greenhouse each time, which got complicated fast.
A snip and drip irrigation system solved it — a porous pipe that lets water drip slowly into the soil. An inexpensive setup was the priority here, given how much the greenhouse itself had already cost. Opening the main source lets the water drip through, best timed carefully to avoid overwatering and drowning the young saplings — really just needs someone to open the source for about an hour or less. A similar system had already been set up the year before to water plants across the stream, extending a hose from the main source since there’s no water supply over there — the same pipe just got extended further out to reach the greenhouse too.
A neighbor took care of the irrigation while away, so the plants had plenty of water and came back thriving in the greenhouse.
A Temporary Tomato House and What Got Planted
Supplies List
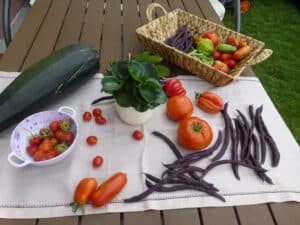
Carrots, lettuce, eggplants, bell peppers (greenhouse)
Swiss chard, tomatoes (greenhouse)
Celery, potatoes, kohlrabi (patches)
Beans, cucumber, zucchini, squash
Spring onions, salad radish
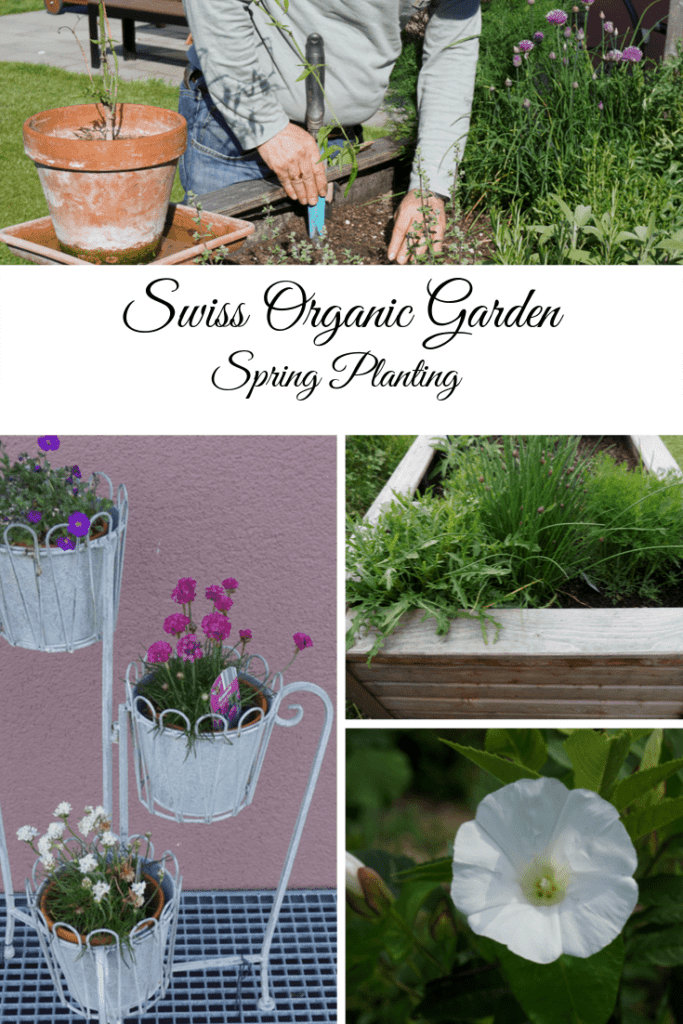
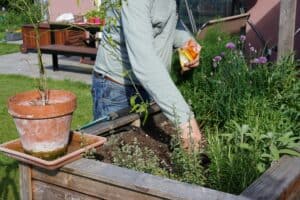
Rucola, chives, sage, thyme (raised beds)
Instructions
A Temporary Tomato House:
After last year’s success growing tomatoes in the greenhouse, a second, smaller structure felt worth trying — a spot for more exotic plants that need extra warmth. Since there’s no permission yet for a permanent structure, this one was built as a test, to gauge the town planners’ reaction. If there’s no objection, a stronger, more stable structure is the plan for next year.
Building the Frame:
A basic frame went up first, covered with a special PVC sheet, with metal supports added for the creeping plants to climb.
Have a backup heat source ready: a couple of candles were enough to protect young greenhouse plants through an unexpected cold snap. Time drip irrigation carefully: opening the main water source for about an hour or less avoids overwatering and drowning young saplings. Enlist a neighbor while traveling: a neighbor kept the irrigation running during a two-week trip away, keeping the greenhouse thriving in the meantime.
Types of Peppers you can use
While jalapeños are the most commonly used pepper for hot pepper jelly, you can experiment with other types to customize the flavor and heat level:
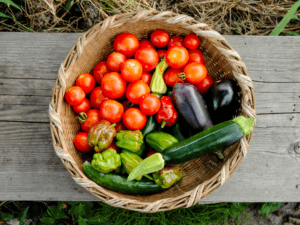
Jalapeños: Mild to medium heat, widely available. Serranos: Slightly hotter than jalapeños, with a bright, fresh flavor. Habaneros: Very hot, with a fruity undertone. Bell Peppers: No heat, but adds color and sweetness. Mixing different peppers can create a unique balance of flavors and colors.
Watch the Video
Your feedback is valuable
Thank you for taking the time to read this post.
Frequently Asked Questions
How Do You Protect Greenhouse Plants from an Unexpected Frost?
A couple of candles lit inside the greenhouse, especially overnight, can provide enough warmth to get young plants through a sudden cold snap.
Why Install Drip Irrigation in a Greenhouse?
No rain reaches inside a greenhouse, so a self-watering system like drip irrigation is essential for keeping plants alive, especially during time away from home.
Do You Need Permission to Build a Greenhouse Structure?
It depends on the structure and local rules — a temporary tomato house was built here as a test first, without a permanent structure, to see whether the town planners would object before committing to something sturdier.