
Homemade all purpose Citrus Cleaner (Vegan)
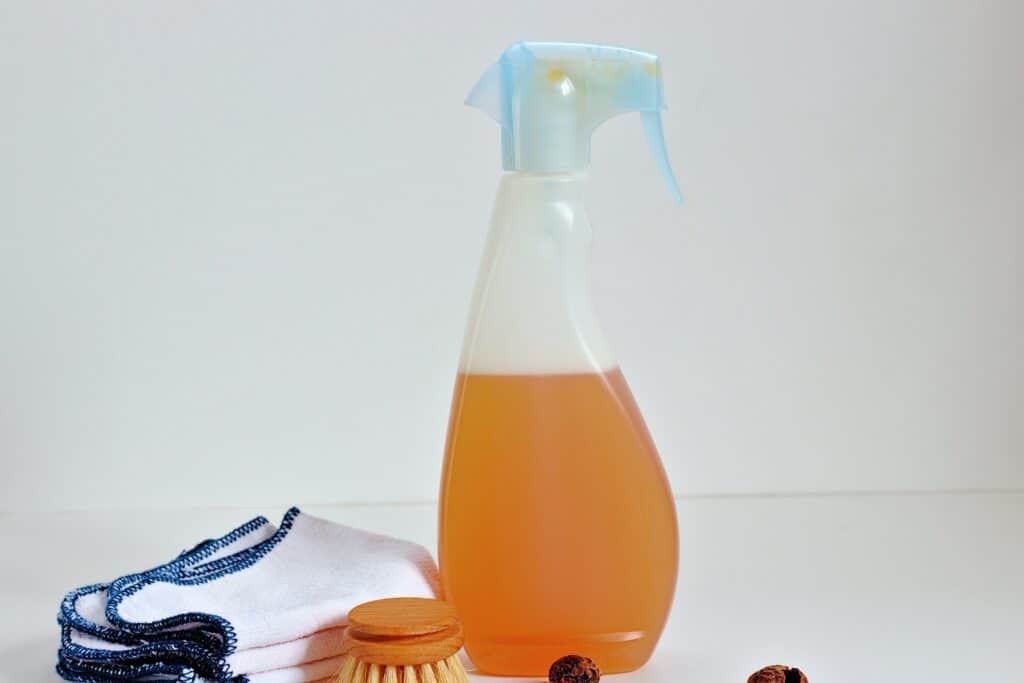
Want to make an easy all purpose homemade cleaner using ingredients which are mostly in your kitchen cabinet? Well you can make it with soapnuts, citrus fruits, salt and vinegar only.
Tea Tree Oil Face Cream – Water Based
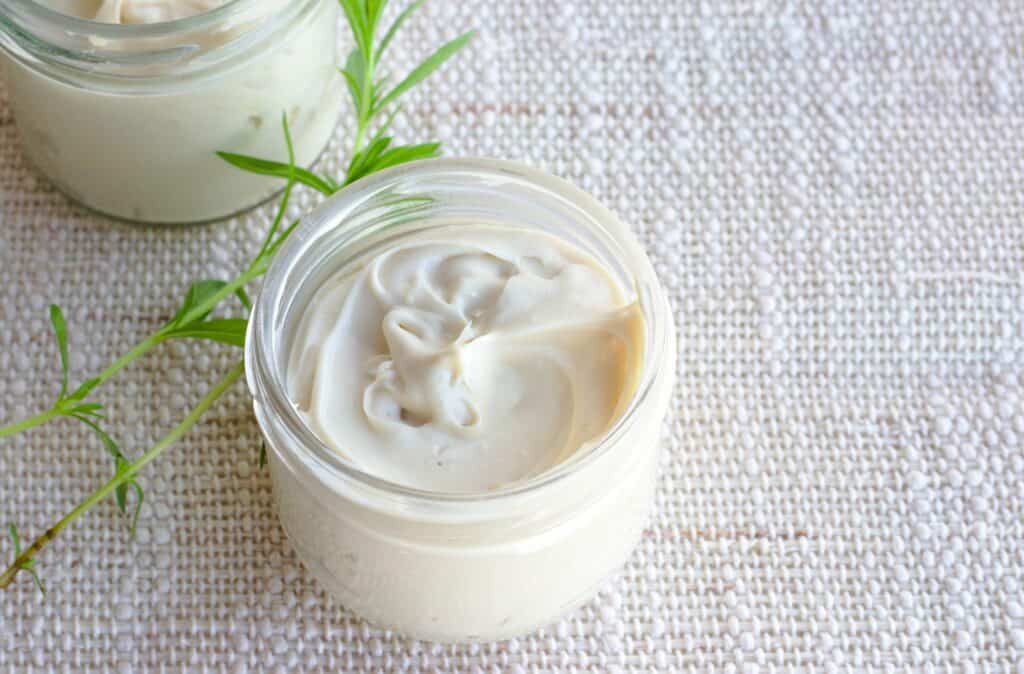
Ingredients Instructions Jump to Recipe Disclosure: This post contains affiliate links, meaning, at no additional cost to you, we will earn a small commission if you click through and make a purchase. Learn more Home Tea tree oil has countless benefits for skin and is often used in natural skin care products. Because of all that I had to try out making my own non greasy tea tree face cream for my own use. This tea tree oil face cream is water based which is easy for your skin to absorb without making your skin greasy. Perfect for the coming spring and summer months. Table of Contents What is Tea Tree Essential Oil? Tea tree essential oil is steam distilled from the leaves of the tea tree plant. It is most known for its cleansing and purifying properties, making it a great essential oil for the skin, cleaning, and boosting the immune system. Tea tree can also help to keep the scalp healthy and promote hair growth. Most people are familiar with tea tree essential oil but may know it as melaleuca essential oil. Melaleuca and tea tree are the same thing and used the same way. Depending on the brand, different companies will refer to this oil with one of those names. Tea tree essential oil is an oil that I often use in my natural skin care products. Because it can help to reduce skin blemishes, cleanse the skin, and reduce signs of aging. I also add tea tree to most of my hair care products for the many benefits that it has for the hair and scalp. How to make Tea Tree Oil Face Cream? The first is to use an emulsifying wax or Stearic acid to stabilize cosmetics and to enhance the shelf life. The second way is without. It works out also, but takes a lot longer while mixing. Because, its water based its not shelf stable, therefore you will have to store it in the refrigerator. Lets jump to the recipe. Its very easy and you will need very few ingredients. I will be giving you both the recipes with and without the emulsifier. Ingredients List Disclosure: This post contains affiliate links, meaning, at no additional cost to you, we will earn a small commission if you click through and make a purchase. Learn more Bees Wax Beeswax makes the oil mixture solid and when you add it in small amounts to lotions to achieve a suitable texture to homemade cosmetics. You will need to add just very little. I usually use bees wax for making lip balms and lipsticks, because, bees wax solidify the natural oils in the mixture quickly. It is the most common raw material for ointments . If you are allergic to bees wax try using a plant based wax. Sweet Almond Oil Almond oil is a versatile moisturiser that gives you beautiful, delicate and pure skin. The vitamins A, B & E promote the firmness, moisture absorption and elasticity of your skin. Almond oil contains clean fatty acids by binding dirt to themselves. This oil is also an alternative to conventional make-up removal. Valuable nutrients repair fragile hair and nail structures. Vitamin E Oil Vitamin E skin oil is quickly absorbed by your skin and has anti-aging properties. Hence Vitamin E oil is ideal for moisturizing skin care. It reliably moisturizes your dry and cracked skin for quick and effective organic oil skincare. Cocoa Butter or Mango Butter Cocoa Butter is excellent, luxurious, moisturizing and great for natural skin treatment. Mango butter is rich in antioxidants and has a lot of benefits for the skin. Tea Tree Essential Oil Water – I used distilled water for this recipe or you can also use filtered water. Emulsan Emulsan is an emulsifier that allows stablilize water in oil cream and has skin nourishing properties. Instructions In a glass bowl add the cocoa butter or mango butter sweet almond oil and bees wax. Set the glass bowl over a pot of boiling water to create a double boiler. Melt all ingredients together. Cool the molten fat and then add Vit E oil and about 10 to 15 drops of tea tree essential oil. Pour the liquid into a blender and add water a little at a time till it emuslifies. Pour the cream into a sterilized glass jar and use it quickly. Store in the refrigerator. Water based Tea Tree Face Cream using an Emulsifier Add the ingredients and melt them in a double boiler. Add Emulsan together with the rest of the ingredients and melt. Whisk to cool the cream and thicken it up. Follow the same procedure and blend together after cooling. Add Vit. E and the essential oil after the mixture has cooled. Once it has a rich and thick consistency, transfer into a sterilized glass jar and store it in the refrigerator for up to 30 days. Recipe Card Your feedback is valuable If you try this recipe and love it, I would love if you come back and gave it 5 stars! Thank you so much for visiting Vial Fair Living – we’re so happy you’re here! I would love it if you can share this recipe using the social media buttons you see next to the post. Frequently Asked Questions Accordion Tab Title 1 Click edit button to change this text. Lorem ipsum dolor sit amet, consectetur adipiscing elit. Ut elit tellus, luctus nec ullamcorper mattis, pulvinar dapibus leo. Accordion Tab Title 2 Click edit button to change this text. Lorem ipsum dolor sit amet, consectetur adipiscing elit. Ut elit tellus, luctus nec ullamcorper mattis, pulvinar dapibus leo. Accordion Tab Title 3 Click edit button to change this text. Lorem ipsum dolor sit amet, consectetur adipiscing elit. Ut elit tellus, luctus nec ullamcorper mattis, pulvinar dapibus leo. Leave a ReplyPlease enable JavaScript in your browser to complete this form.Name *Email *Website / URLMessageCheckboxes Yes, add me to your mailing list. Submit Related Posts
Homemade Aloe Vera Cream – All Skin Types
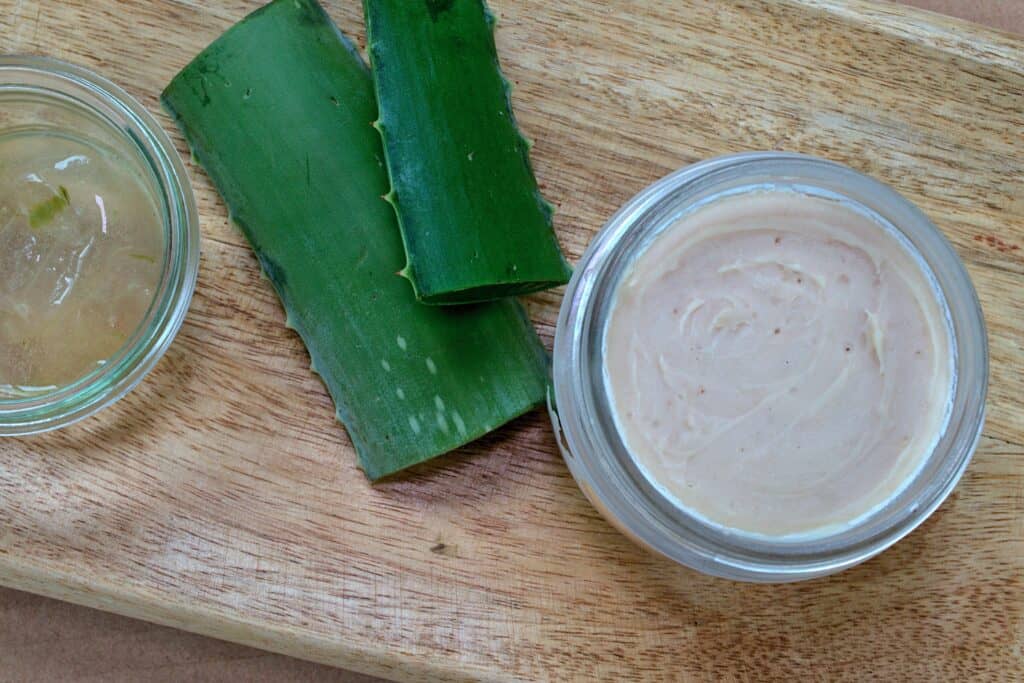
Ingredients Cooking Instructions Jump to Recipe Disclosure: This post contains affiliate links, meaning, at no additional cost to you, we will earn a small commission if you click through and make a purchase. Learn more Home Our skin is our largest detoxification organ therefore what we put on our skin is absorbed into our body. This affects our skin’s health and body health too. This is why it’s incredibly useful to make your own skin care products. Try making this all natural homemade aloe vera cream for your skin. This body cream uses all natural and nourishing ingredients which is suitable for all skin types. Since about a year, I have been intending to share this homemade aloe vera cream recipe. I got the recipe from a good friend on mine, therefore I cannot claim all the credit. But as usual since I couldn’t source all the ingredients, so, I modified the recipe. My first attempt of this cream didn’t work out because I didn’t cut the fresh aloe vera right and was a little too impatient. The second attempt it worked like a dream therefore I wanted to share it on my blog. Table of Contents Aloe Vera the perfect ingredient for skin care Aloe vera is one of the most versatile plants in the world. It has a long history of use for medicinal purposes, and it’s still used to treat a variety of conditions. This plant has its origins in North Africa, and it was introduced to Europe in the 16th century. It became popular as a natural remedy for a variety of illnesses. Aloe vera is still used today to treat skin conditions, such as psoriasis and eczema, and it’s also used to treat other conditions, such as diabetes and asthma. Due to the above and many other properties, Aloe Vera makes an ideal choice for a water based lighter homemade cream. History of Pepper Jelly The Origins of Pepper Jelly: Pepper jelly has its roots in Southern United States cuisine, where preserving fruits and vegetables in jellies and jams has been a longstanding tradition. The idea of combining spicy peppers with sweet jellies is thought to have emerged as a way to use up an abundant pepper harvest and create a versatile condiment that could complement a variety of dishes. Tools you may need Disclosure: This post contains affiliate links, meaning, at no additional cost to you, we will earn a small commission if you click through and make a purchase. Learn more Sterilized Jam Jars Funnel for filling Blender Heavy bottom Pot Mixing bowl How to make Hot and Sweet Pepper Jelly? Ingredients List 1 chopped bell pepper (red or green) 1 cup or 20 finely chopped hot peppers (such as jalapeños, serranos, or habaneros, seeds removed for less heat) 3 cups of pectin sugar 1 cup apple cider vinegar Juice of 1 lemon 1/2 teaspoon salt Cooking Instructions Prepare the Peppers: Wear gloves in order to protect your hands from the heat of the peppers. I have experienced heat on my hands for almost a week because I forgot to wear the gloves once. Remove the stems, seeds, and membranes from the hot peppers (you can leave some seeds if you prefer a spicier jelly). Chop them roughly and then blend it to a rough consistency. Cook the Peppers: Combine the blended peppers after filtering out the excess liquid with pectin sugar, apple cider vinegar, and salt in a thick bottom pot or saucepan. Remove the liquid from the crushed peppers, only if you want the jelly to be thicker, otherwise its not needed. Bring the mixture to a boil over medium-high heat, then reduce the heat and let it simmer for about 10 minutes.Increase the heat and bring the mixture back to a rolling boil. Boil for 1 minute, stirring constantly. Skim the Foam Skim off any foam that forms on the surface of the jelly using a metal spoon. This will help to ensure a clear jelly, if you want a clear jelly. Plate Test Prior to starting the jam, keep a plate in the freezer. Then drop a little of the jelly and see if it has attained the required consistency. Canning the Jelly: Ladle the hot jelly into sterilized jars, leaving about 1 cm of head space at the top. Wipe the rims of the jars with a clean, damp cloth, and apply the lids and screw bands. Process the jars in a boiling water bath for 10 minutes to ensure they are sealed properly. Remove the jars and let them cool completely. Check the seals after 24 hours – the lids should not flex up and down when pressed. Serving Suggestions Hot Pepper Jelly is incredibly versatile and can be used in numerous ways: Cheese Platters: Serve with cream cheese or goat cheese on crackers for a delightful appetizer.Glaze: Use as a glaze for grilled stuff.Sandwich Spread: Add to sandwiches or burgers for a sweet and spicy kick.Condiment: Use as a dip for spring rolls.Breakfast: Spread on toast, bagels, or scones for a sweet and spicy breakfast treat. Tips for the Perfect Hot and Sweet Pepper Jelly Adjusting the Heat: Customize the heat level by adjusting the amount of hot pepper seeds you include.Consistency: Ensure the jelly sets properly by following the boiling times exactly. If you are using Pectin separately, it needs to boil for the correct amount of time to activate and set the jelly.Sterilization: Properly sterilize jars and lids to prevent contamination and ensure a long shelf life. Types of Peppers you can use While jalapeños are the most commonly used pepper for hot pepper jelly, you can experiment with other types to customize the flavor and heat level: Jalapeños: Mild to medium heat, widely available.Serranos: Slightly hotter than jalapeños, with a bright, fresh flavor.Habaneros: Very hot, with a fruity undertone.Bell Peppers: No heat, but adds color and sweetness. Mixing different peppers can create a unique balance of flavors and colors. Flavor Variations
5 Effective Remedies to Digestive Problems
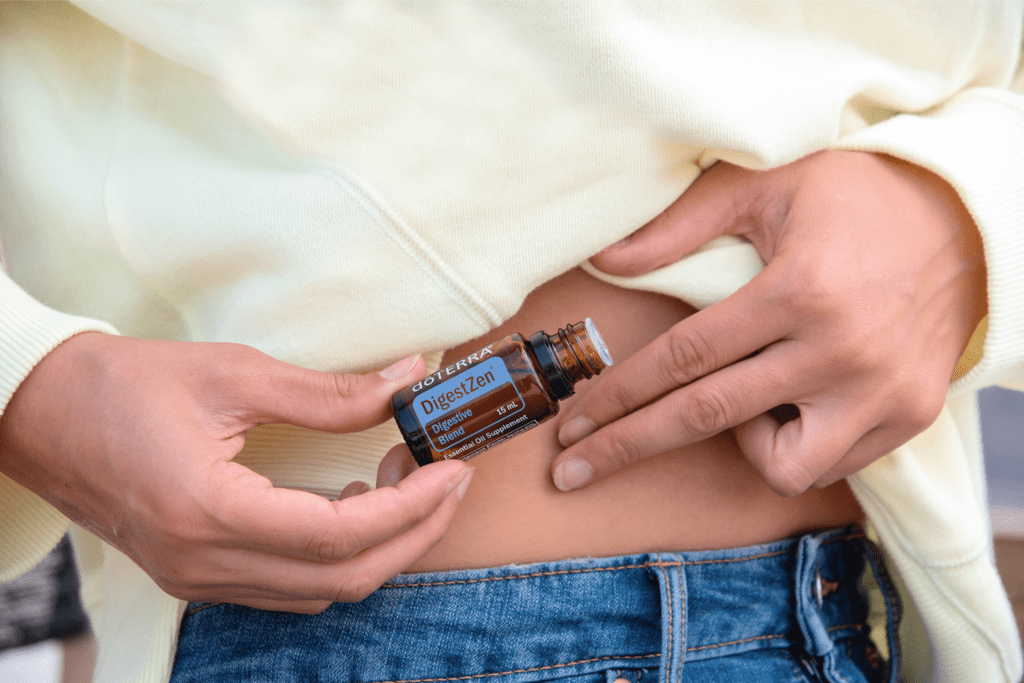
Most of us have experienced stomach distress and digestive issues from time to time. And an equal number of us have probably reached for a standard over-the-counter med. While these have their place, they’re not the only answer to gastrointestinal distress. Many natural remedies exist as well. They’re not only easy on the tummy but often life staples found in your own kitchen. If you’re looking for some easy and effective remedies try these 5 effective remedies to digestive problems you can do at home.
Homemade hand cream

Learn how to make this natural, non-toxic ingredients and infused with essential oils. This natural homemade nourishing hand cream moisturises and revitalises tough, dried out hands during the colder months. Moreover, you can make this with very few ingredients and for the fragrance add essential oils of your choice.
Non-Greasy Face Moisturiser

In the northern hemisphere we are deep into the winter months. And part of my daily skin care routine is to use a non-greasy face moisturiser for dry skin. This homemade face moisturiser is quite simple to make and doesn’t require any fancy equipment. You can whip it up easily and add this moisturiser also into your Christmas gift basket.
Vanilla Brown Sugar Scrub
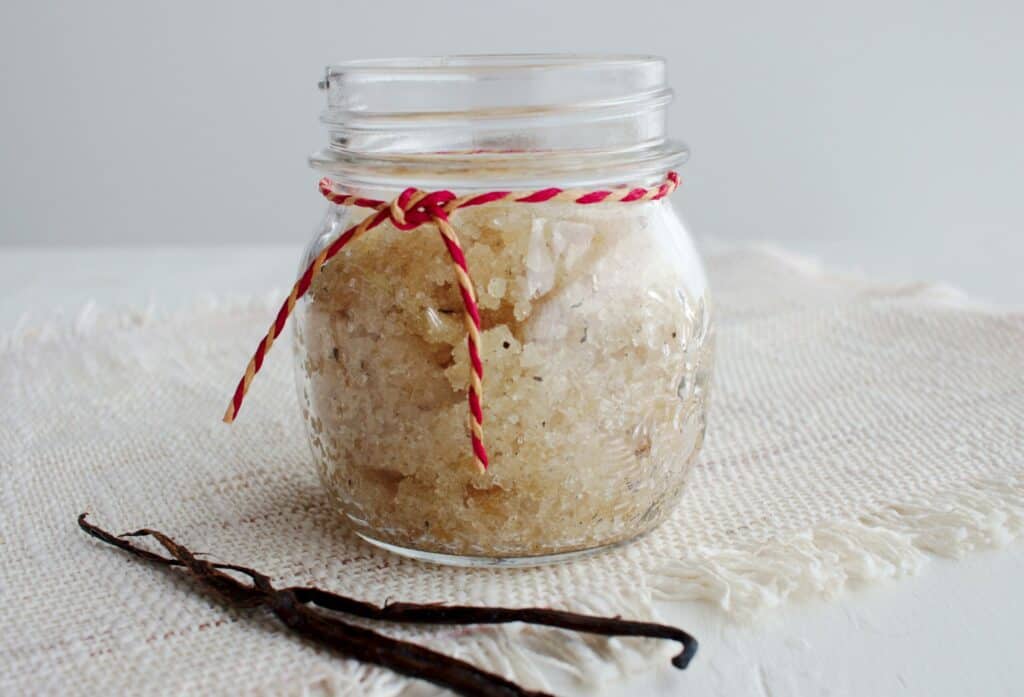
With the winter months fast approaching, why not give your skin the tender loving care it deserves. You can make this homemade vanilla brown sugar scrub with just these 4 ingredients found in your kitchen pantry. This DIY project makes a perfect gift for anyone, or it’s great for pampering yourself.
Zero Waste Sustainable Hacks

In our home, our kitchen and garden come to a full circle. I want to share some of my zero waste sustainable kitchen to garden hacks which I practice everyday. These are also easy to implement and will become part of your routine soon enough.
10 tips for sustainable eating
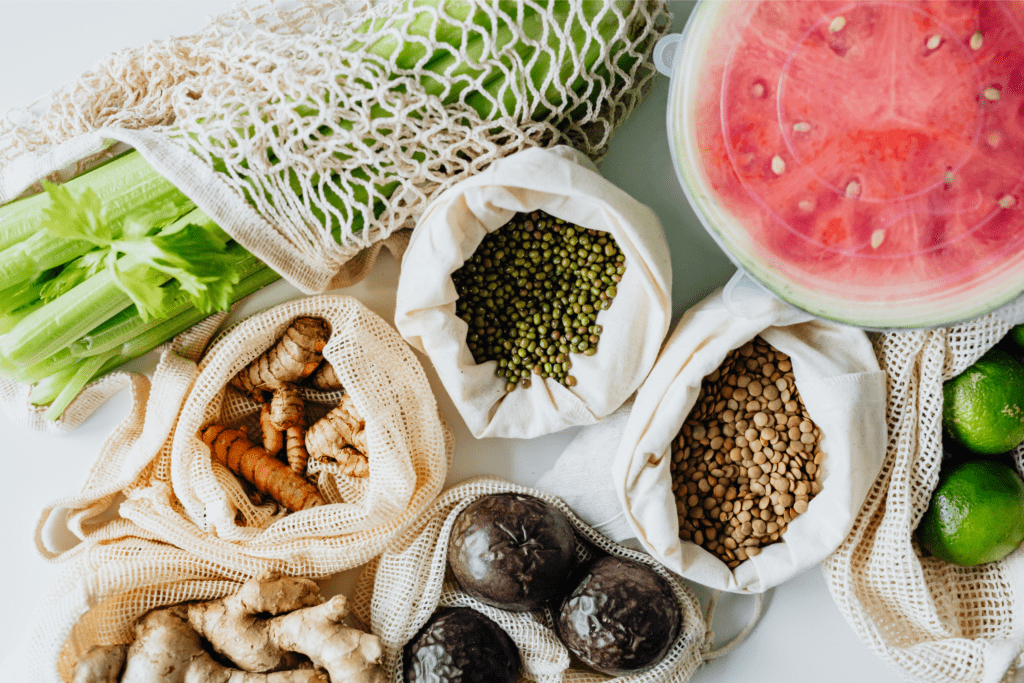
Food prices are rising steadily especially since the past year, but our income in most cases has not kept up with the inflation. Explore my favorite 10 tips for sustainable eating on budget and how we do our bit for our health and the environment. I have been practicing this for decades even before it became a trend.
All Natural Zero Waste Toothpaste
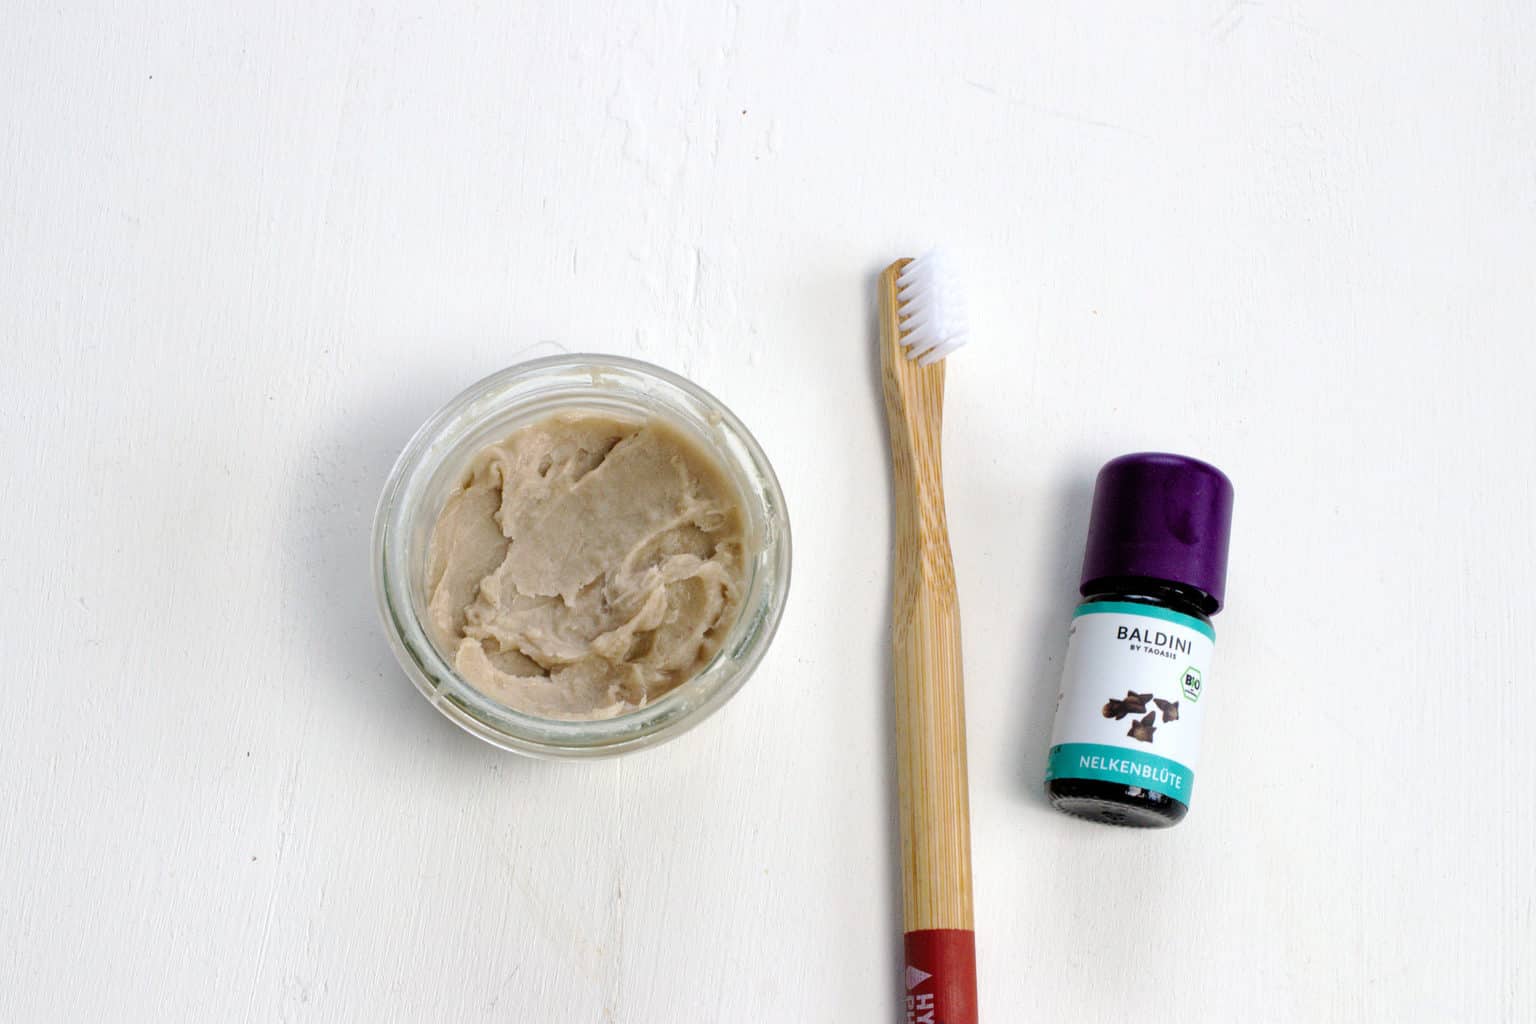
Brush your teeth with an all natural zero waste toothpaste recipes using essential oils and minimum of ingredients. It is so easy to make and you can whip it up in 10 minutes.