Sharing is caring

Disclosure: This post contains affiliate links, meaning, at no additional cost to you, we will earn a small commission if you click through and make a purchase. Learn more

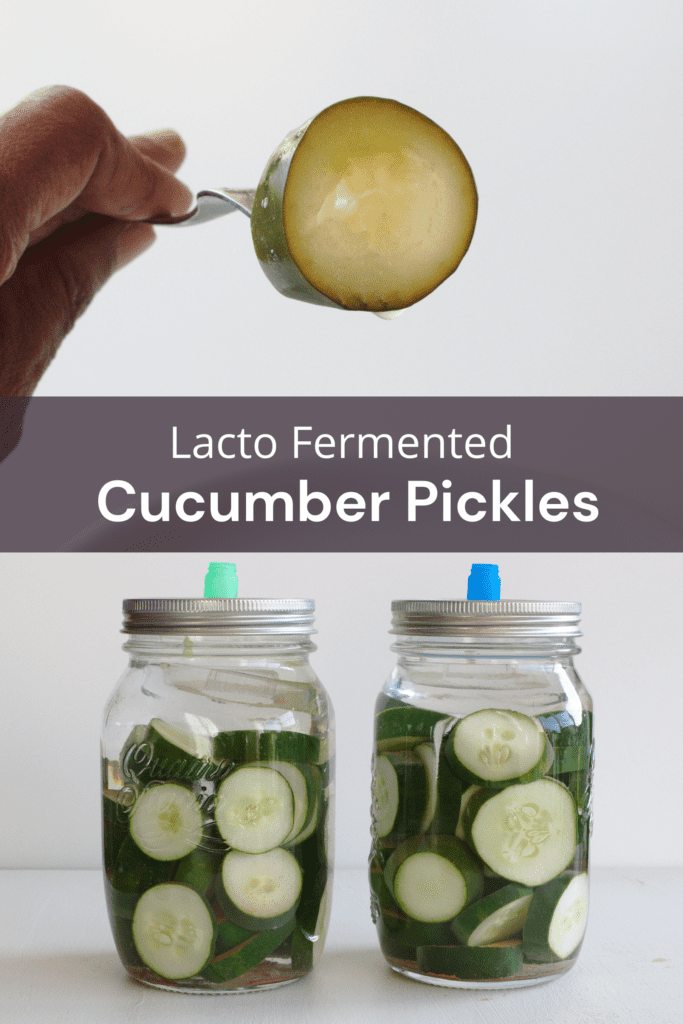
Making homemade fermented pickles is easy — no rocket science required — and it’s a simple way to get your daily dose of probiotics, with just a few ingredients and no special tools.

Easy homemade fermented pickles

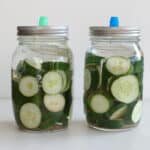
Making homemade fermented pickles is that easy, and it’s no rocket science. What’s more, you get your daily dose of probiotics, a must for a healthy gut. Learn how to make fermented pickles at home with the minimum of ingredients and tools.

Table of Contents

Why Make Homemade Fermented Pickles?

There are many reasons to make your own ferments. For me, it’s about conserving garden produce and getting those healthy probiotics that help boost the immune system. Home fermentation also saves money and reduces waste, and it means you’re not relying on a freezer that adds to your electricity bill. You know exactly what goes into your ferments — and exactly how much care went into growing the vegetables in the first place.

Since cucumbers don’t freeze well, fermenting is the best way to preserve them. Fermented food is also easier to digest and good for gut health, since ferments add beneficial bacteria along the way.

Tools you may need

Disclosure: This post contains affiliate links, meaning, at no additional cost to you, we will earn a small commission if you click through and make a purchase. Learn more

These tools really help get a successful, mold-free ferment — worth the small investment.

How to Make Easy Homemade Fermented Pickles?

Ingredients List

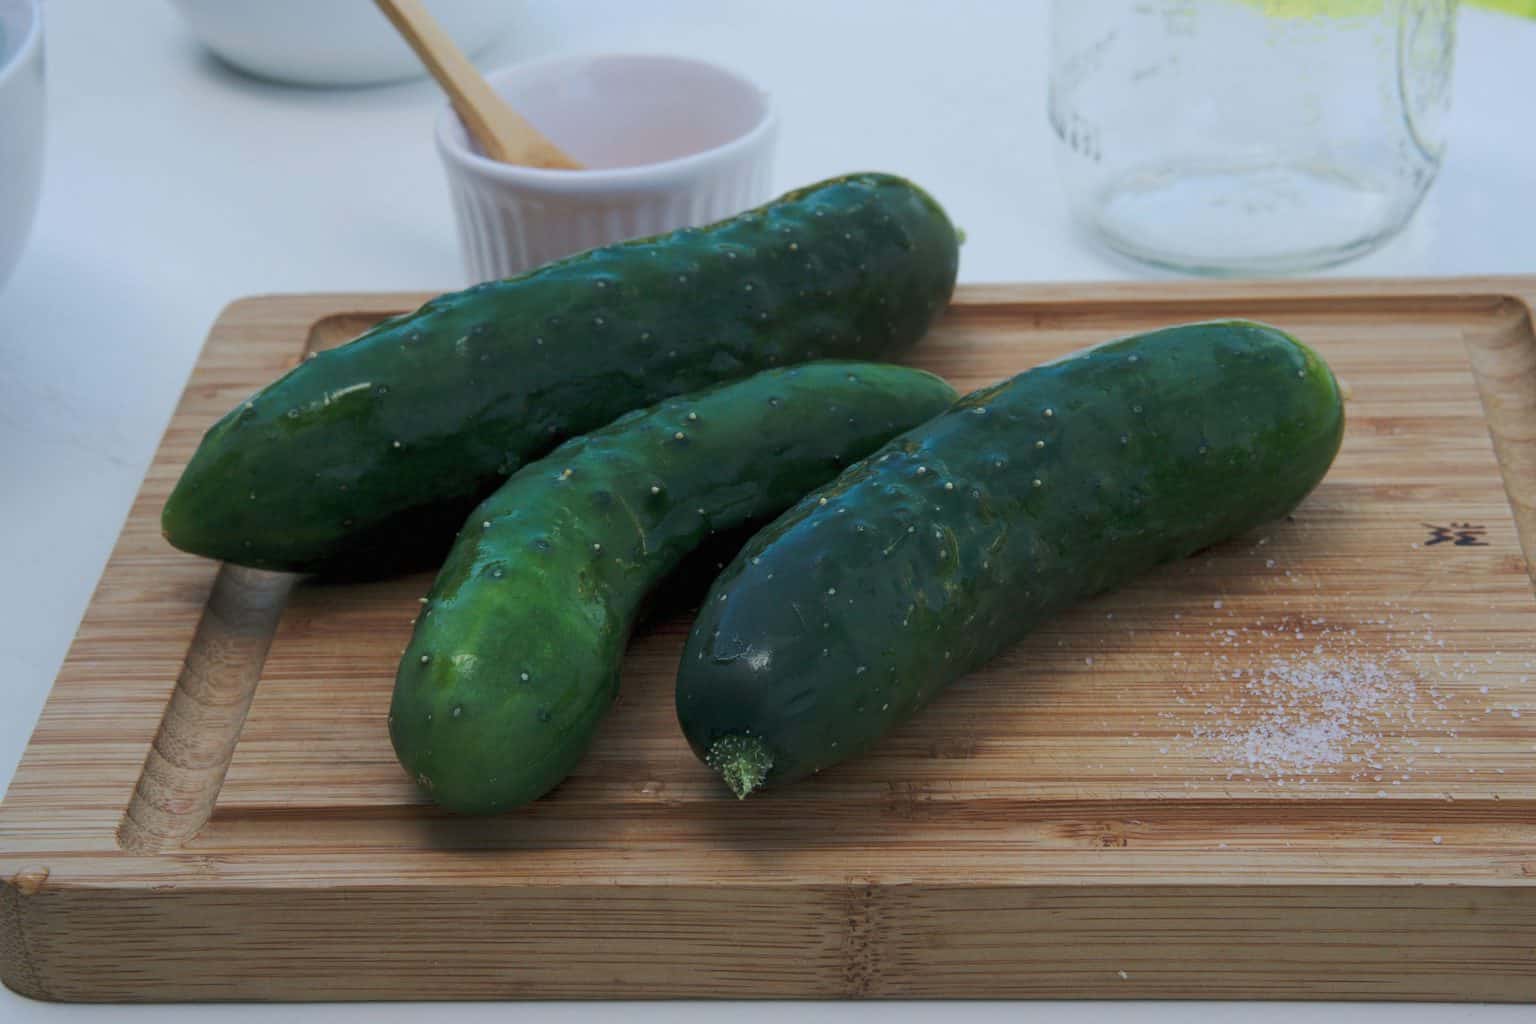
  • 4 medium cucumbers
  • 2 liters filtered water
  • 4 tbsp Himalayan pink salt (non-fluoridated)

Cooking Instructions

  • Chill the Cucumbers:

    Place the cucumbers in a bowl of ice water for about 30 minutes to keep them crisp, then slice into rounds about 2cm thick.

  • Make the Brine:

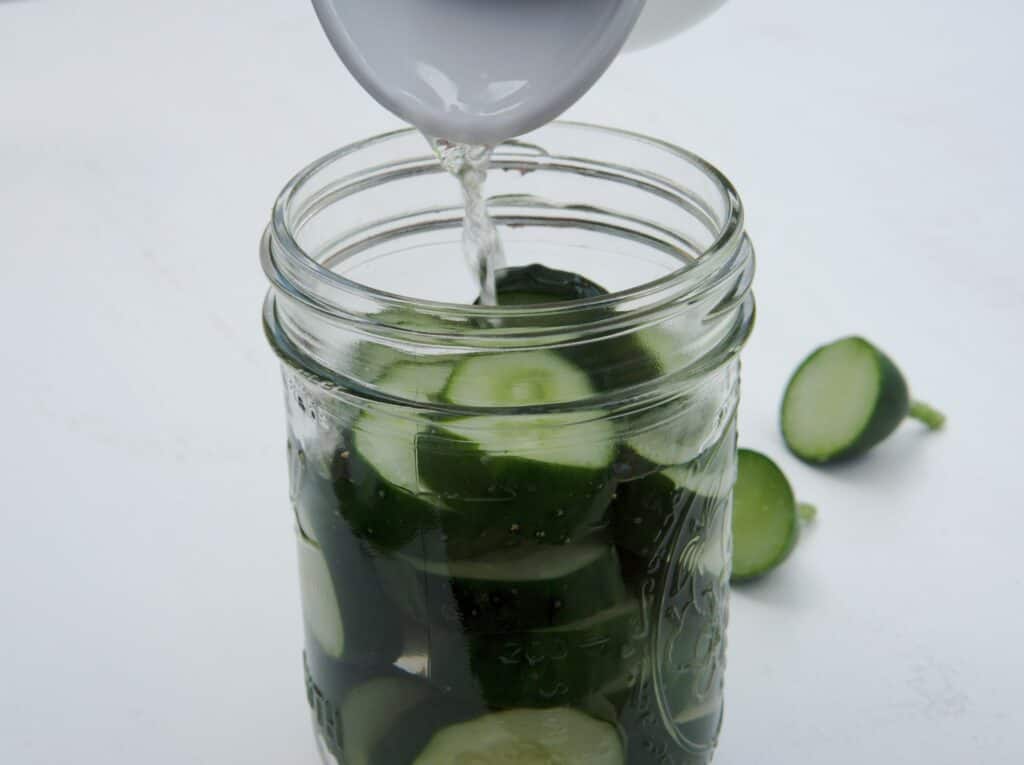
    Heat half the water and dissolve the salt into it thoroughly, then let it cool.

  • Pack the Jar:

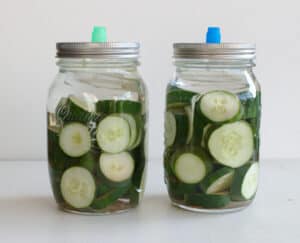
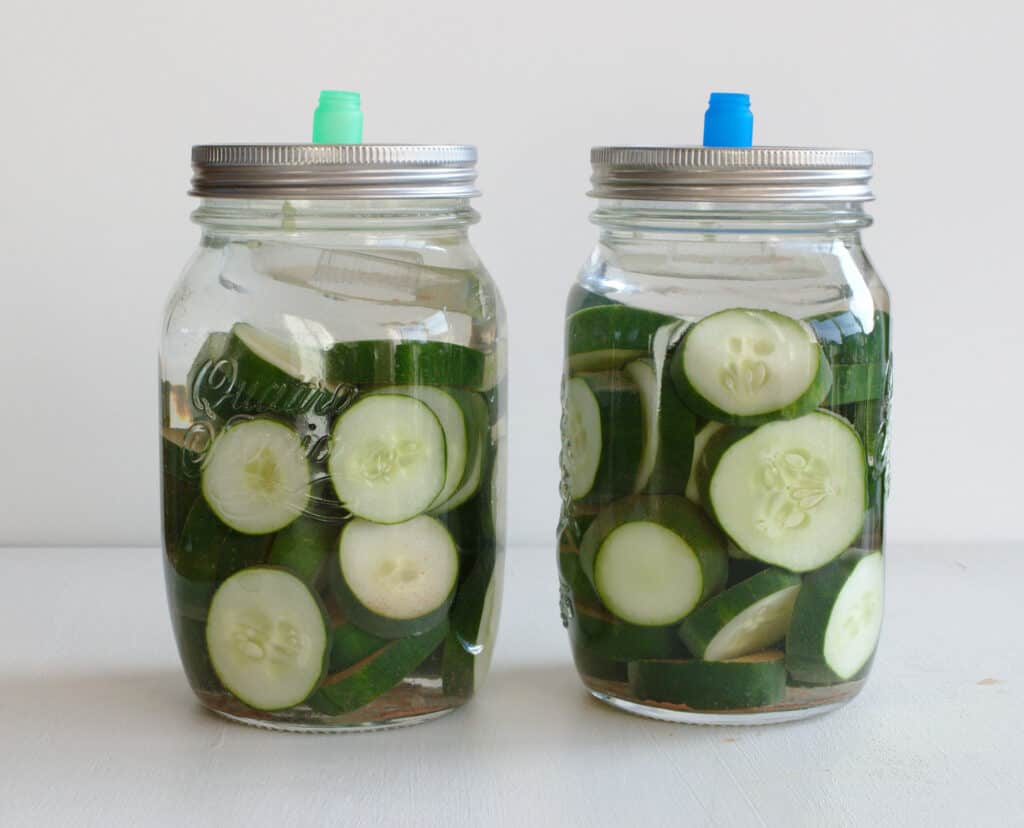
    Place the sliced cucumbers into sterilized mason jars. Pour in the cooled salt water, then fill the rest of the way with plain filtered water.

  • Weight and Seal:

    Add a fermentation weight to keep the cucumbers under the brine (a sterilized rock in a ziploc bag works too, as long as it doesn’t touch the ferment directly). Close with a fermenting lid, or if you don’t have one, just don’t screw the regular lid on too tightly — fermentation produces gases that need to escape.

  • Ferment:

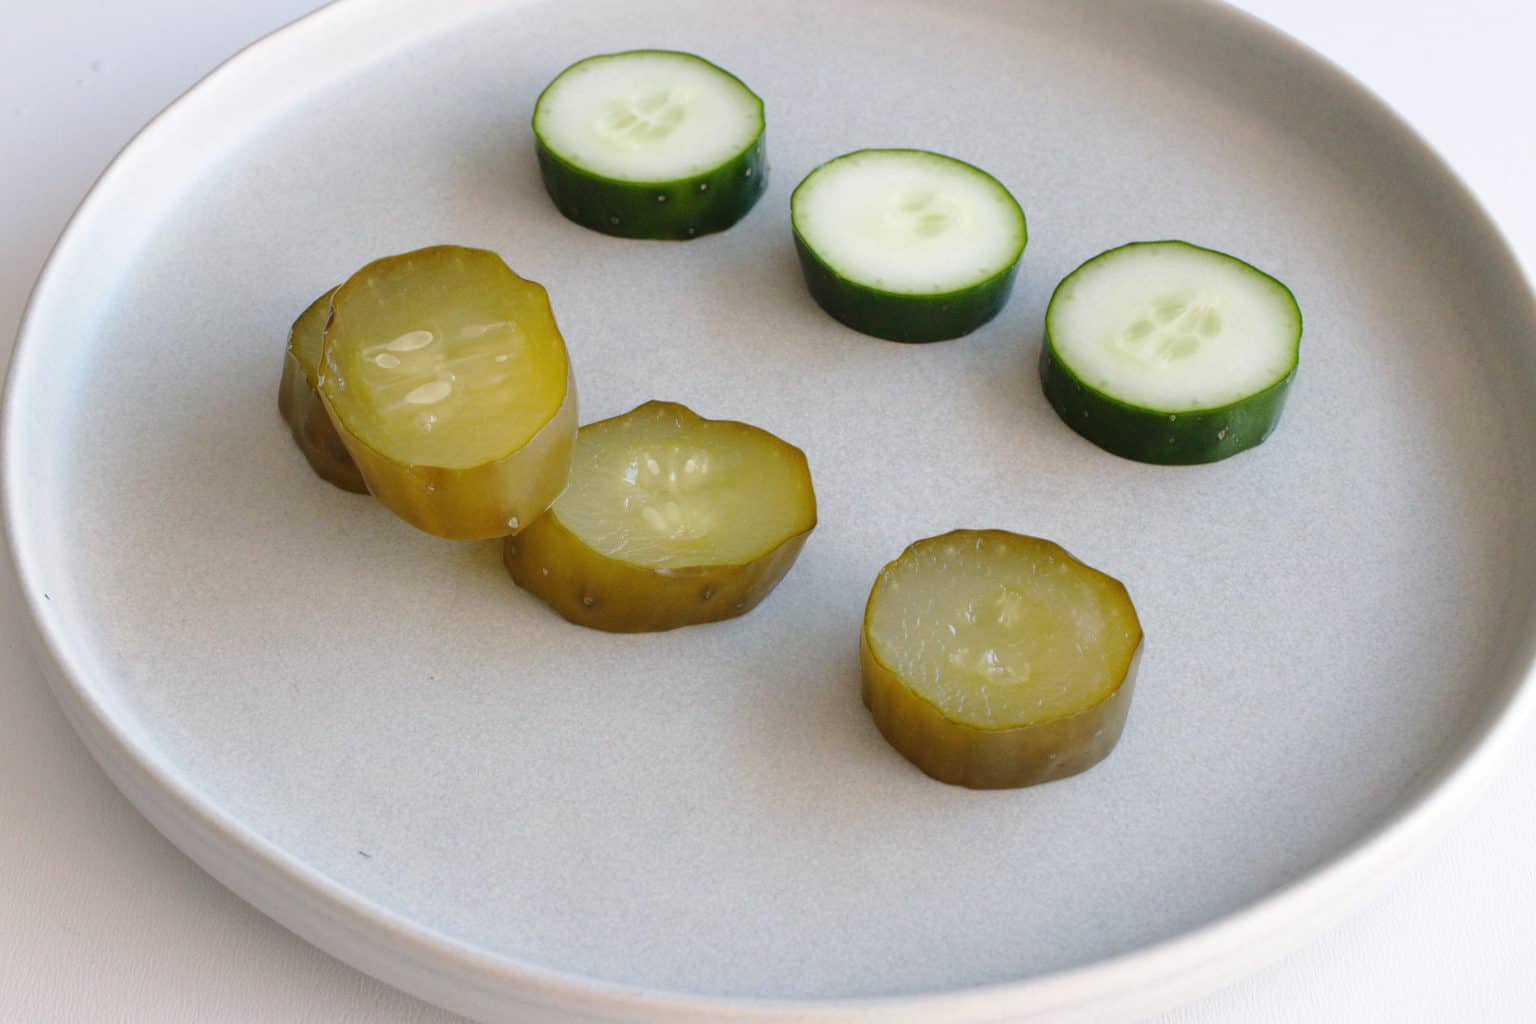
    Leave the jar covered, away from ants and bugs, for 5 to 6 days. The cucumbers will change color as they ferment — that’s normal, and so is a cloudy brine, which isn’t mold.

  • Taste and Store:

    Once the color has changed, taste one. If it’s sour enough for you, seal the lid tightly and refrigerate. For a more sour pickle, leave the jar at room temperature a little longer before refrigerating.

Serving Suggestions

These fermented pickles are great straight from the jar, or:

On sandwiches: a few crisp slices add tang and crunch.
Alongside cheese: the acidity cuts through rich, creamy cheeses nicely.
As a side: serve a small dish alongside just about any meal.

Tips for Perfect Fermented Pickles

Chill before slicing: soaking the cucumbers in ice water first keeps them crisp once fermented.
Cloudy brine is normal: it’s a natural byproduct of vegetable fermentation, not mold.
Keep pests out: make sure the jar stays covered throughout fermentation to keep ants and bugs away.
Taste as you go: try one after 5–6 days and let it ferment longer at room temperature if you want more sourness.

A Note on Cucumber Varieties

Any cucumber works for fermenting, but variety does affect the result. Nostrano cucumbers, for example, have a spiky skin that brushes off easily by hand, along with a higher water content and more flesh than other varieties — which adds to a more intense taste. If raw cucumber doesn’t always agree with you, a firmer, high-water variety like this is worth seeking out.

Variations for Fermented Pickles

Once you’ve got the base method down, there’s plenty of room to experiment:

Onions: add some freshly cut onion to the jar for extra flavor.
Fresh herbs: dill or parsley both work well thrown in with the cucumbers.
Juniper berries: a traditional European addition — a few berries add a distinctive, aromatic note.

A Lifelong Love of Fermented Food

Fermented food has been a lifelong habit here — growing up, fermented and fresh food made up most of the diet, since refrigerated food wasn’t part of how the family ate. That whole-foods, made-from-scratch approach is part of why fermenting still feels like the natural choice today, alongside the gut-health benefits fermented vegetables are known for.

Watch the Video

Homemade fermented pickles
Homemade fermented cucumber pickles
Easy homemade fermented pickles

Recipe Card

Print
clock clock iconcutlery cutlery iconflag flag iconfolder folder iconinstagram instagram iconpinterest pinterest iconfacebook facebook iconprint print iconsquares squares iconheart heart iconheart solid heart solid icon
Easy homemade fermented pickles

Easy Homemade Fermented Pickles


5 Stars 4 Stars 3 Stars 2 Stars 1 Star

No reviews

  • Total Time: 7215
  • Yield: 12 servings 1x
  • Diet: Vegan

Description

Simple fermented cucumber pickles made with just three ingredients — cucumbers, salt, and water — and packed with the probiotics that come from natural fermentation.


Ingredients

Scale
  • 4 medium cucumbers
  • 2 liters filtered water
  • 4 tablespoons Himalayan pink salt (non-fluoridated)

Instructions

  • Chill the Cucumbers:

    Place the cucumbers in a bowl of ice water for about 30 minutes to keep them crisp, then slice into rounds about 2cm thick.

  • Make the Brine:

    Heat half the water and dissolve the salt into it thoroughly, then let it cool.

  • Pack the Jar:

    Place the sliced cucumbers into sterilized mason jars. Pour in the cooled salt water, then fill the rest of the way with plain filtered water.

  • Weight and Seal:

    Add a fermentation weight to keep the cucumbers under the brine (a sterilized rock in a ziploc bag works too, as long as it doesn’t touch the ferment directly). Close with a fermenting lid, or if you don’t have one, just don’t screw the regular lid on too tightly — fermentation produces gases that need to escape.

  • Ferment:

    Leave the jar covered, away from ants and bugs, for 5 to 6 days. The cucumbers will change color as they ferment — that’s normal, and so is a cloudy brine, which isn’t mold.

  • Taste and Store:

    Once the color has changed, taste one. If it’s sour enough for you, seal the lid tightly and refrigerate. For a more sour pickle, leave the jar at room temperature a little longer before refrigerating.

Notes

Cloudy brine is a normal part of fermentation, not mold. Taste-test after 5–6 days; leave at room temperature a little longer for a more sour pickle, then refrigerate once it’s to your liking.

  • Prep Time: 15
  • Cook Time: 7200
  • Category: Side Dishes

Nutrition

  • Serving Size: 12
  • Calories: 4
  • Fat: 20
Your feedback is valuable

If you try this recipe and love it, I would love if you come back and gave it 5 stars! Thank you so much for visiting Vital Fair Living – we’re so happy you’re here! I would love it if you can share this recipe using the social media buttons you see next to the post.

Frequently Asked Questions

Yes — cloudy brine is a natural byproduct of vegetable fermentation, not mold.

Usually 5 to 6 days, though you can taste-test along the way and leave them longer at room temperature if you’d like a more sour pickle.

No problem — just don’t screw a regular lid on too tightly, since fermentation produces natural gases that need somewhere to escape.

Leave a Reply
0 0 votes
Article Rating
Subscribe
Notify of
guest
2 Comments
Oldest
Newest Most Voted
trishmacdonnell
trishmacdonnell
5 years ago

(PLS EXCUSE CAPS, SIGHT ISSUES) THANKS SO MUCH FOR THIS! I’VE JUST HARVESTED THE LAST OF MY CUCUMBERS AND HAD ZERO IDEA WHAT TO DO WITH SO MANY:/
I WILL TRY THIS OUT, FINGERS CROSSED IT WORKS FOR ME. IT SOUNDS EASY BUT I’VE NEVER FERMENTED ANYTHING BEFORE.