Easy Artisan Sourdough Bread
Disclosure: This post contains affiliate links, meaning, at no additional cost to you, we will earn a small commission if you click through and make a purchase. Learn more
The smell of freshly baked artisan sourdough is a near-daily thing here, and this crusty, dutch-oven-baked loaf is easier to make than it looks — worth the extra effort once you get the hang of it.
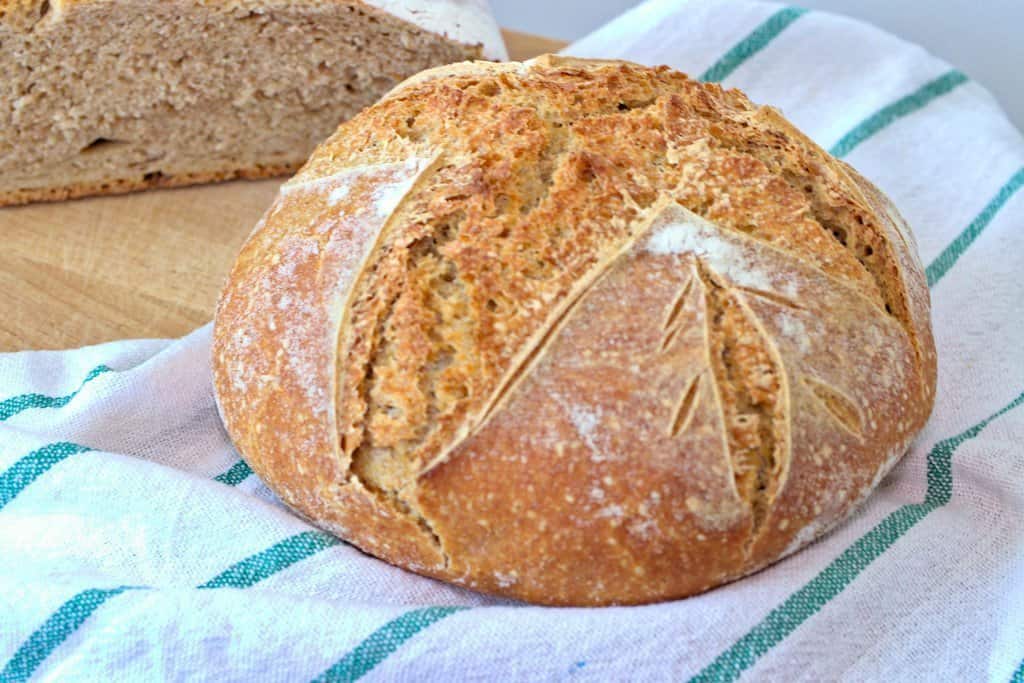
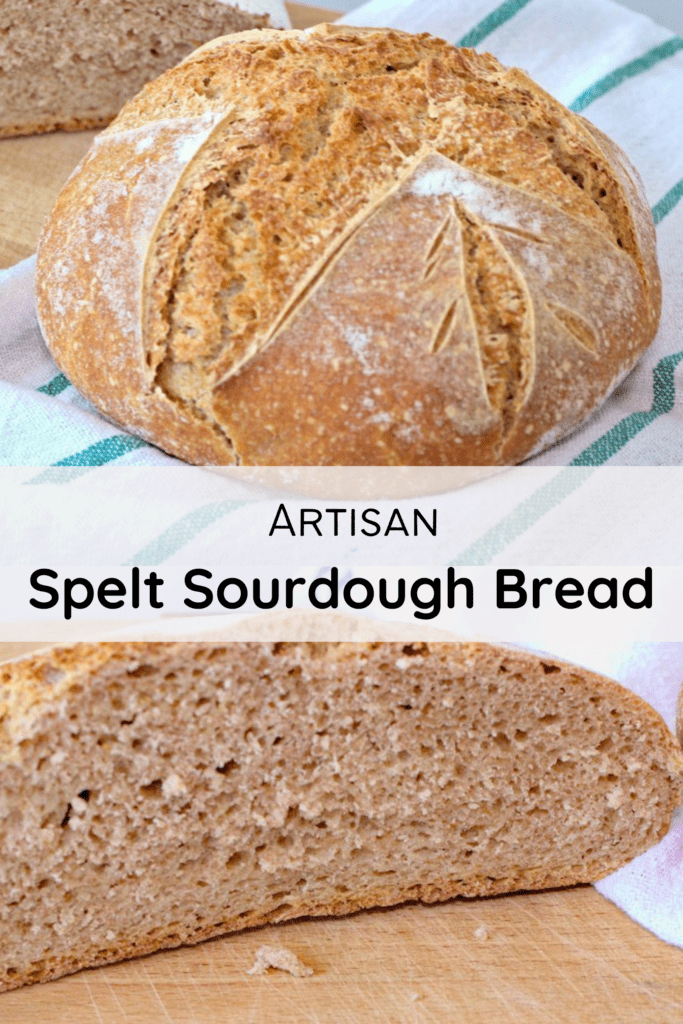
The smell of freshly baked bread is what fills our kitchen most days — especially an artisan sourdough baked with spelt in a cast iron dutch oven. Sourdough bread is the pinnacle of bread baking, and this recipe makes an easy-to-bake, crusty artisan loaf that’s great to serve any time of day.
The best artisan sourdough has a deep, tangy flavor with a lovely crust and a chewy interior — perfect for breakfast, soups, and salads. I’ve been baking different breads in a dutch oven for over two decades, and my family loves it.
Creating artisan bread might sound complicated, but it’s not that difficult once you follow the steps for proofing and baking. The extra effort is worth it — once you master this, you’ll rarely reach for store-bought bread again.
Table of Contents
Benefits of Sourdough
Sourdough has real health benefits, and the long fermentation process is a big part of why it’s become so popular — it supports digestion and gut health, and helps with better nutrient absorption. People with gluten sensitivity often find sourdough easier to digest too, since fermentation breaks down anti-nutrients like phytic acid in the grain and helps lower the gluten content, while adding beneficial probiotics along the way.
What Is Artisan Bread?
There’s no hard and fast rule for this category of bread. “Artisan” generally refers to fresh, small-batch bread made with natural ingredients and traditional methods — usually crusty, rustic-looking loaves. Some artisan bakers take it further with decorative scoring and designs, but that’s a skill best saved for once you’ve mastered the basic technique.
Tools you may need
Disclosure: This post contains affiliate links, meaning, at no additional cost to you, we will earn a small commission if you click through and make a purchase. Learn more
How to Make Easy Artisan Sourdough Bread?
Ingredients List
- 150g sourdough starter
- 500g freshly ground flour (spelt)
- 10g Himalayan salt
- 10g brown sugar
- Oil, for oiling
- Extra flour & semolina, for shaping
- Water, as needed
Cooking Instructions
Stage 1 – Mix and Prove:
Combine the sourdough starter, water, sugar and salt in a large bowl or stand mixer. Add water as needed and knead until the dough pulls away from the sides of the bowl and becomes smooth and elastic — about 5 minutes with a stand mixer. Stretch a small piece to check it: it should be thin, translucent and elastic. Cover in a well-oiled bowl and leave to rise for 8 to 12 hours, until doubled in size.
Stage 2 – Shape the Dough:
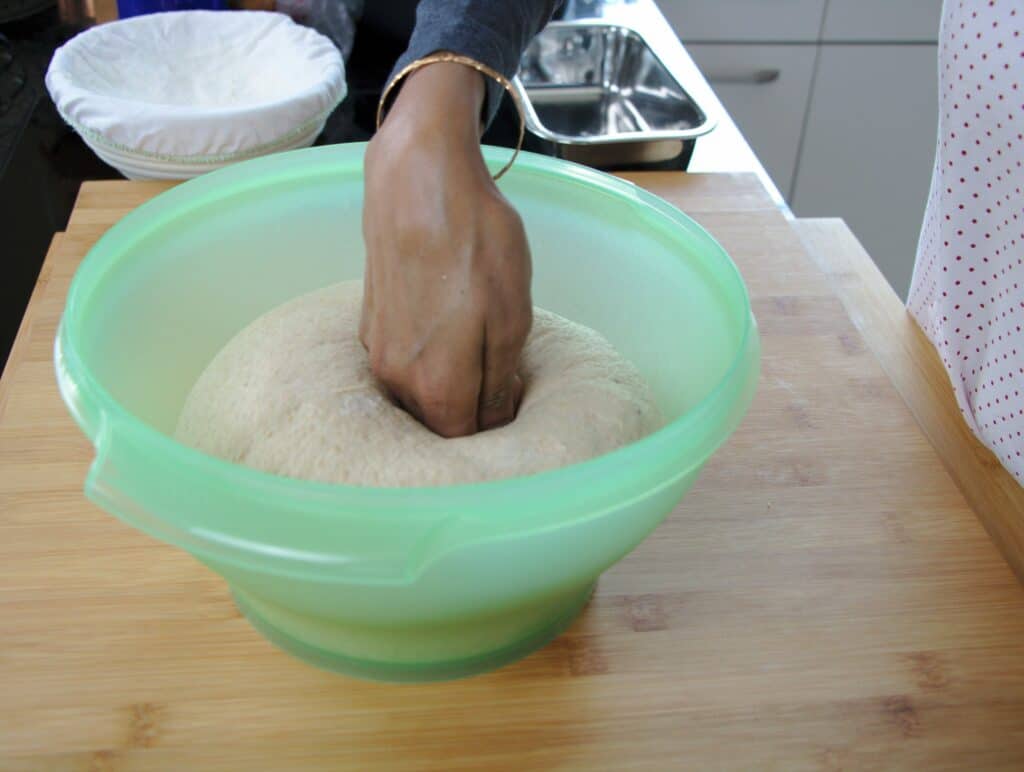
Punch the risen dough down to check it springs back, then tip it onto a surface dusted with flour and semolina. Press out the air with your knuckles and the heel of your hand, folding the dough in on itself several times to strengthen its structure. Flatten into a rough rectangle, then fold and shape it into a smooth ball, tucking the dough underneath as you turn it.
Stage 2 – Second Rise:
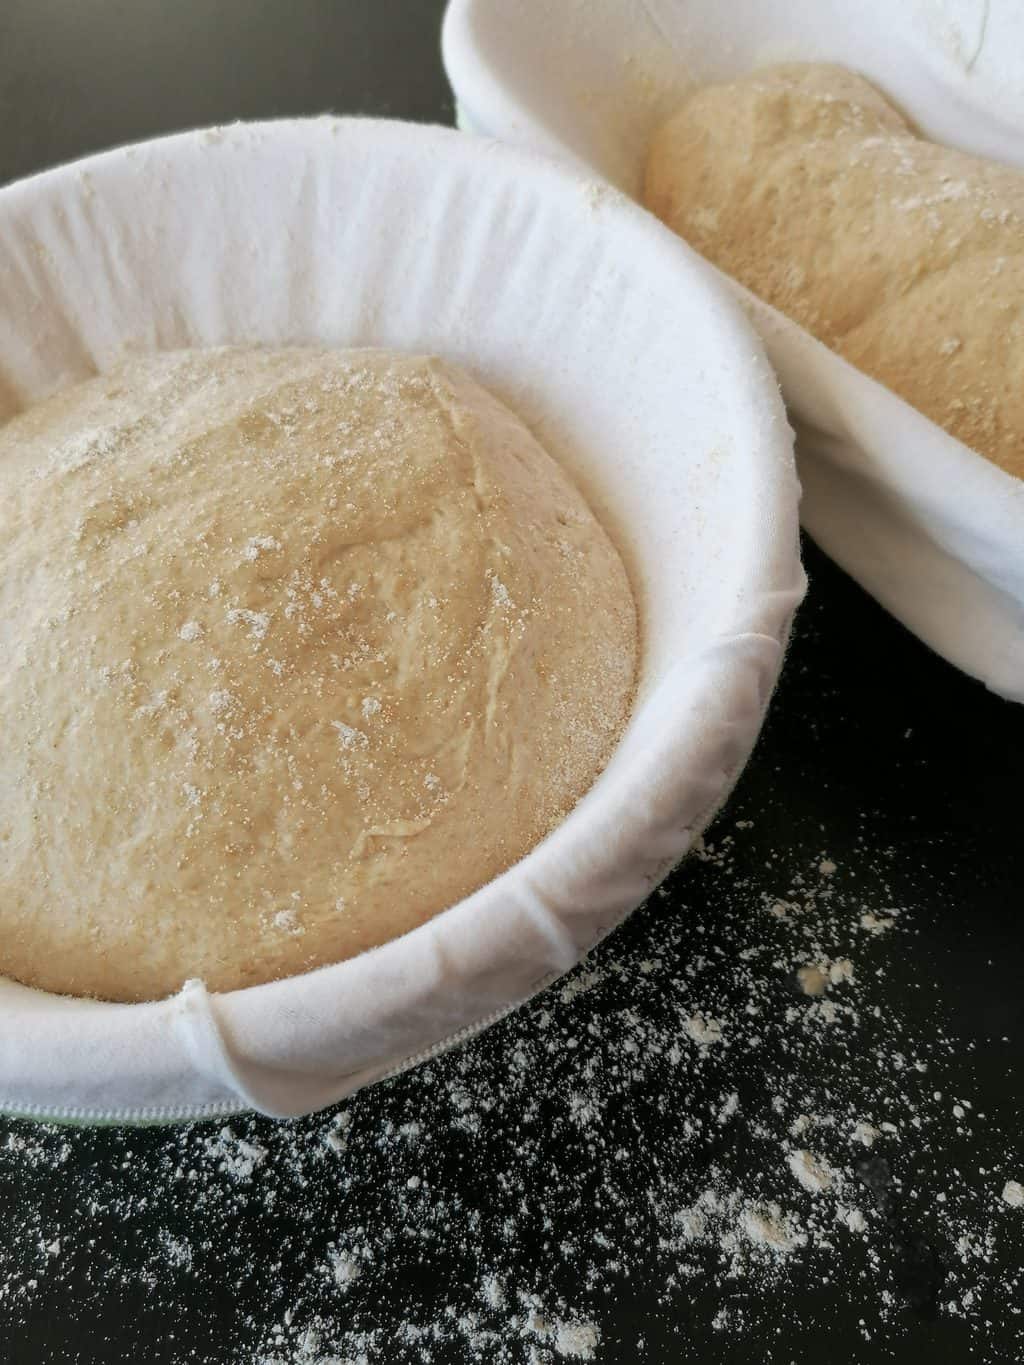
Dust a banneton basket (or a lined bowl) with flour and semolina and place the shaped dough inside. Cover loosely with a large plastic bag — not cling wrap, which will stick to the risen dough — leaving room for the bread to expand. Let it rise for another 2 to 4 hours, depending on room temperature.
Stage 3 – Preheat and Score:
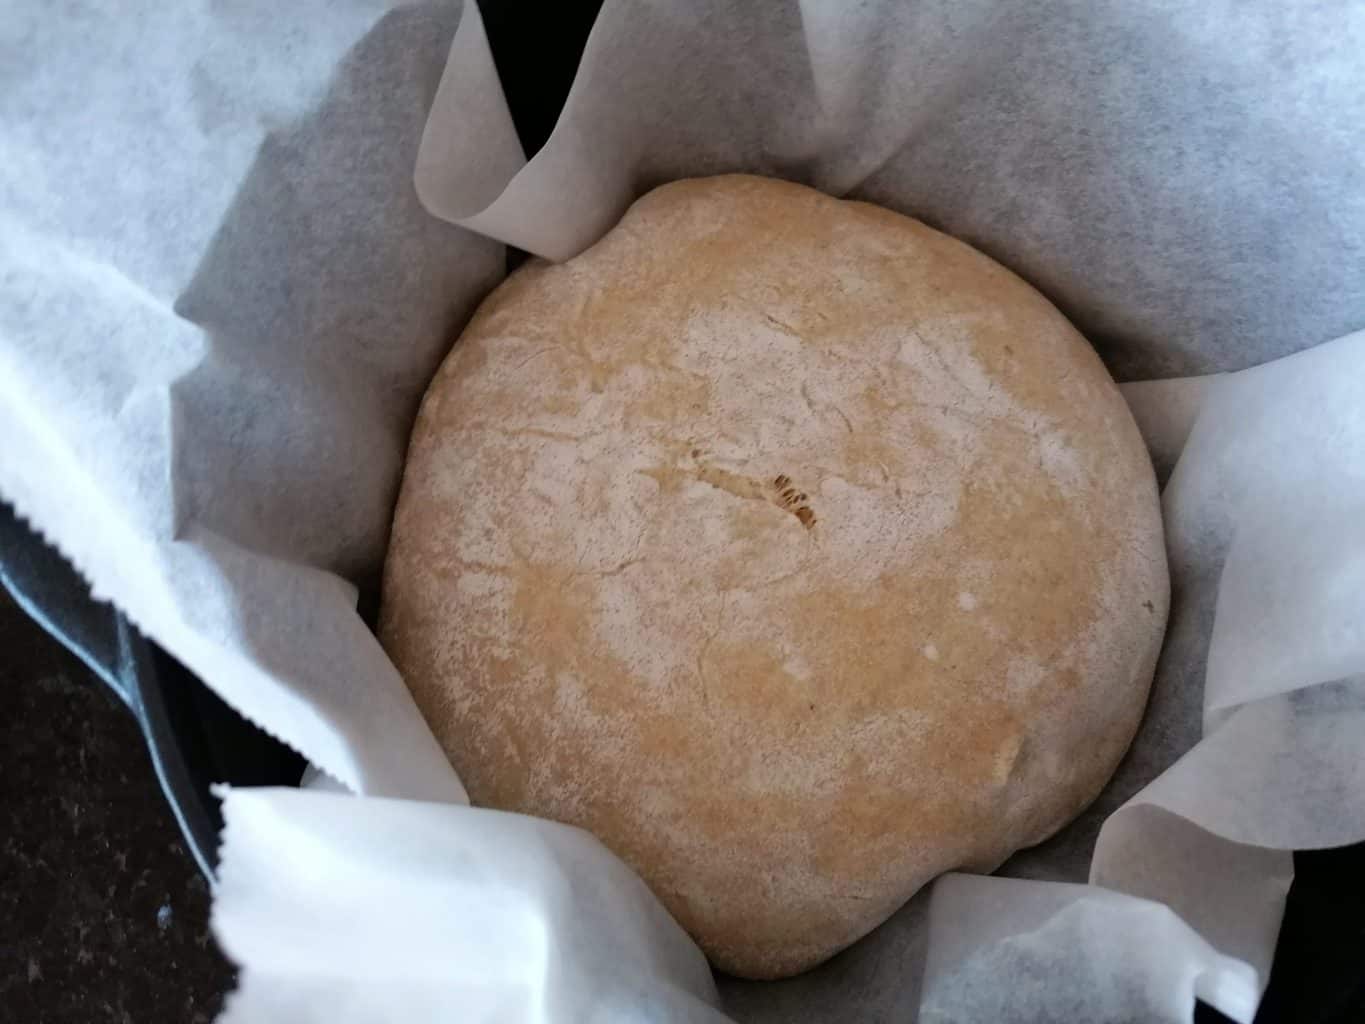
Heat a cast iron dutch oven with its lid at the highest temperature your oven allows (around 230°C / 446°F). Just before baking, transfer the risen dough onto baking parchment, sprinkle with a little flour, and score the top — a simple cross works well.
Stage 3 – Bake:
Gently lower the dough, still on its parchment, into the hot dutch oven. Bake with the lid on for 20 minutes, then reduce the heat to 190°C (374°F), remove the lid, and bake for a further 20 to 25 minutes.
Cool and Serve:
Remove and cool on a wire rack before slicing and serving.
Serving Suggestions
This bread is great any time of day. Try it:
For breakfast: toasted, with butter or jam.
Alongside soup: perfect for mopping up a bowl of soup.
With a salad: a crusty slice rounds out a simple meal.
Tips for Artisan Sourdough Bread
Give yourself time: set aside at least 12 to 15 hours from start to finish.
Bring the starter to room temperature: if it’s been in the fridge, let it sit out for about 30 minutes before using.
Feed it first: feed the starter at least twice before taking a portion for the recipe — it should be like a thick batter, fed with about 100g of finely ground flour and just enough water to keep that consistency.
Do the float test: drop a small piece of the starter in water — if it floats, it’s ready to bake with.
Go easy on water: sourdough doughs generally don’t need much water while kneading, especially with lower-gluten flours — add it a little at a time.
Use a cast iron dutch oven: it retains heat and moisture well, giving that classic crispy crust.
A Note on Flour
This recipe uses freshly ground spelt flour, though any good bread flour will work. If you’re using a lower-gluten flour like spelt, be extra careful with the water — add it gradually, since these flours can’t absorb as much liquid as standard wheat flour.
Ways to Vary This Loaf
Once you’ve got the base method down, there’s room to experiment:
Add-ins: fold in olives, seeds, or dried herbs during shaping for extra flavor.
Different flours: swap some of the spelt for whole wheat or rye for a heartier loaf.
Scoring designs: once you’re comfortable with the basic technique, try more decorative scoring patterns on top.
Why Bake Your Own Sourdough
Beyond the health benefits of long fermentation, baking your own sourdough means you know exactly what’s in it — no shortcuts, additives, or fast-acting yeast. It’s part of why, once you get into a rhythm with a starter, homemade bread tends to become the default rather than the exception.
Recipe Card
Easy Artisan Sourdough Bread
5 Stars 4 Stars 3 Stars 2 Stars 1 Star
No reviews
- Total Time: 945
- Yield: 6 servings 1x
- Diet: Vegan
Description
A crusty, deeply flavored artisan sourdough bread baked in a cast iron dutch oven — easier to make than it looks, and worth every hour of proofing.
Ingredients
- 150g sourdough starter
- 500g freshly ground flour (spelt)
- 10g Himalayan salt
- 10g brown sugar
- Oil, for oiling
- Extra flour and semolina, for shaping and dusting
- Water, as needed
Instructions
-
Stage 1 – Mix and Prove:
Combine the sourdough starter, water, sugar and salt in a large bowl or stand mixer. Add water as needed and knead until the dough pulls away from the sides of the bowl and becomes smooth and elastic — about 5 minutes with a stand mixer. Stretch a small piece to check it: it should be thin, translucent and elastic. Cover in a well-oiled bowl and leave to rise for 8 to 12 hours, until doubled in size.
-
Stage 2 – Shape the Dough:
Punch the risen dough down to check it springs back, then tip it onto a surface dusted with flour and semolina. Press out the air with your knuckles and the heel of your hand, folding the dough in on itself several times to strengthen its structure. Flatten into a rough rectangle, then fold and shape it into a smooth ball, tucking the dough underneath as you turn it.
-
Stage 2 – Second Rise:
Dust a banneton basket (or a lined bowl) with flour and semolina and place the shaped dough inside. Cover loosely with a large plastic bag — not cling wrap, which will stick to the risen dough — leaving room for the bread to expand. Let it rise for another 2 to 4 hours, depending on room temperature.
-
Stage 3 – Preheat and Score:
Heat a cast iron dutch oven with its lid at the highest temperature your oven allows (around 230°C / 446°F). Just before baking, transfer the risen dough onto baking parchment, sprinkle with a little flour, and score the top — a simple cross works well.
-
Stage 3 – Bake:
Gently lower the dough, still on its parchment, into the hot dutch oven. Bake with the lid on for 20 minutes, then reduce the heat to 190°C (374°F), remove the lid, and bake for a further 20 to 25 minutes.
-
Cool and Serve:
Remove and cool on a wire rack before slicing and serving.
Notes
Stored in a good bread box at room temperature, this bread keeps well for 3 to 4 days; it also freezes well. Keeping it out of the fridge helps preserve moisture.
- Prep Time: 900
- Cook Time: 45
- Category: Breads
Nutrition
- Serving Size: 6
- Calories: 225
- Fat: 1

Your feedback is valuable
If you try this recipe and love it, I would love if you come back and gave it 5 stars! Thank you so much for visiting Vital Fair Living – we’re so happy you’re here! I would love it if you can share this recipe using the social media buttons you see next to the post.
Frequently Asked Questions
Set aside at least 12 to 15 hours from start to finish, most of which is hands-off rising time — the active work is fairly minimal.
Drop a small piece of the fed starter into water — if it floats, it’s active enough to use for baking.
Stored in a good bread box at room temperature, it easily lasts 3 to 4 days — keeping it out of the fridge helps it retain moisture. It also freezes well; just thaw and warm briefly before eating.