Print
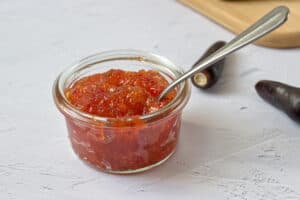
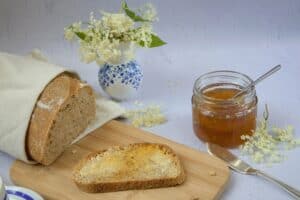
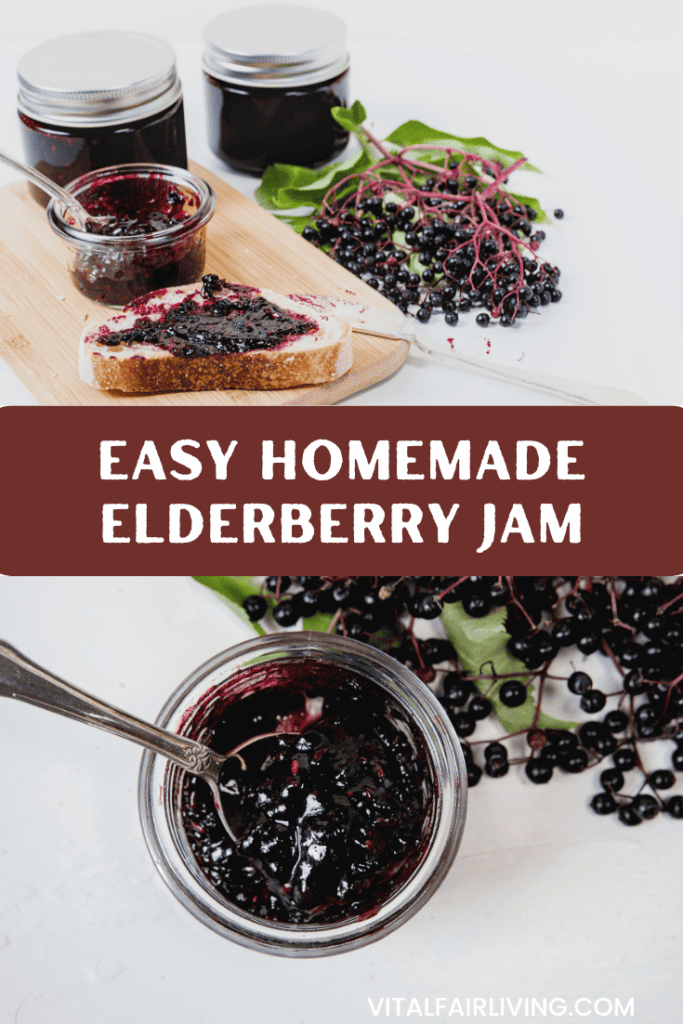
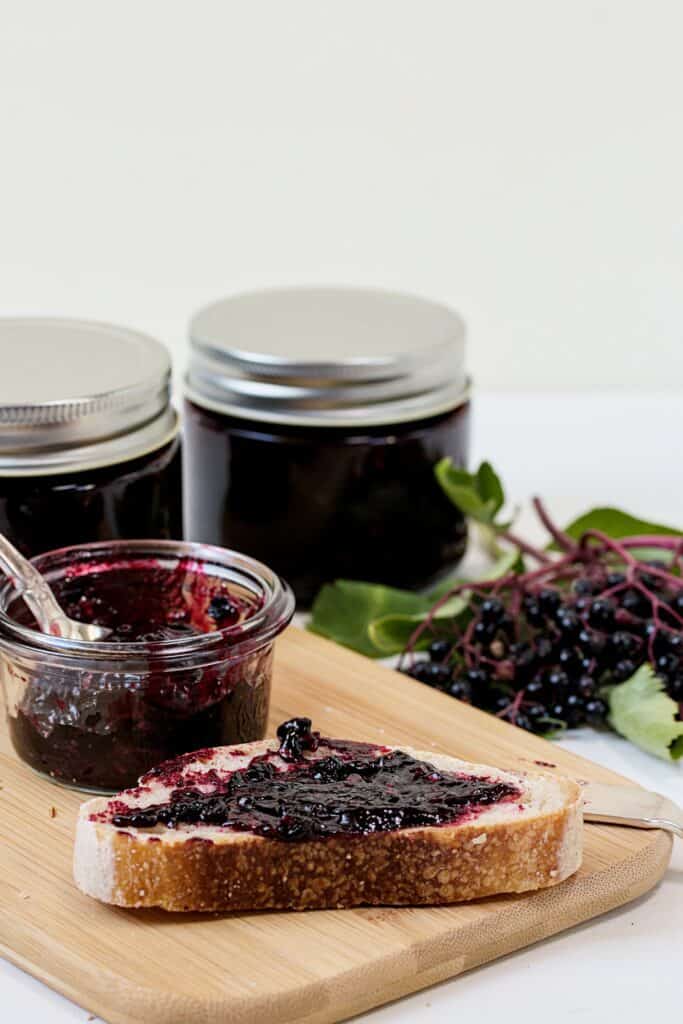
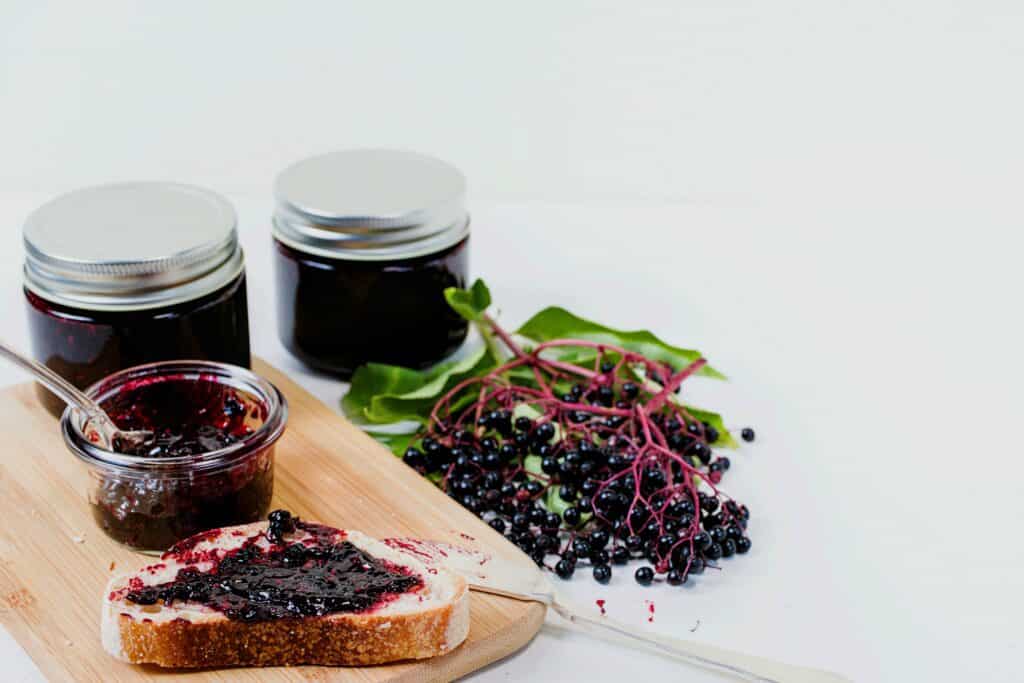
Easy Homemade Elderberry Jam Recipe
- Total Time: 1 hour
- Diet: Vegetarian
Description
If you have access to fresh elderberries, then add this easy 3-ingredient Homemade Elderberry Jam Recipe to your list.
Ingredients
Scale
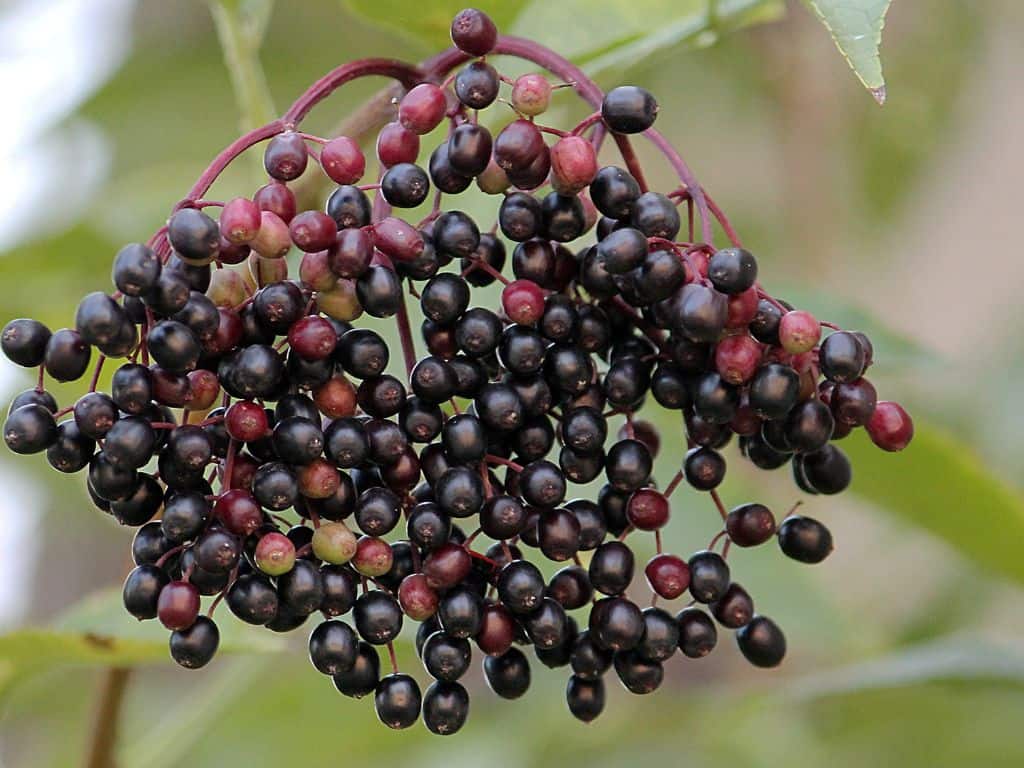
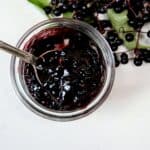
- 500 gms of ripe fresh elderberries
- 400 gm of jam sugar or pectin sugar
- 1 tbsp on lemon juice
Instructions
- Remove the ripe berries from their stalks with a fork. Remove the leaves too.
- Wash the berries thoroughly.
- Transfer the clean berries into a heavy bottom pan and crush them a little to release some juices. We want the berry texture too, so don’t mash all of the berries.
- Add the sugar to the berries and once cooked add the lemon juice.
- Simmer on a low heat and stir continuously to prevent the jam from sticking to the bottom.
- Cook for around 20 minutes. Discard any scum which has raised to the surface.
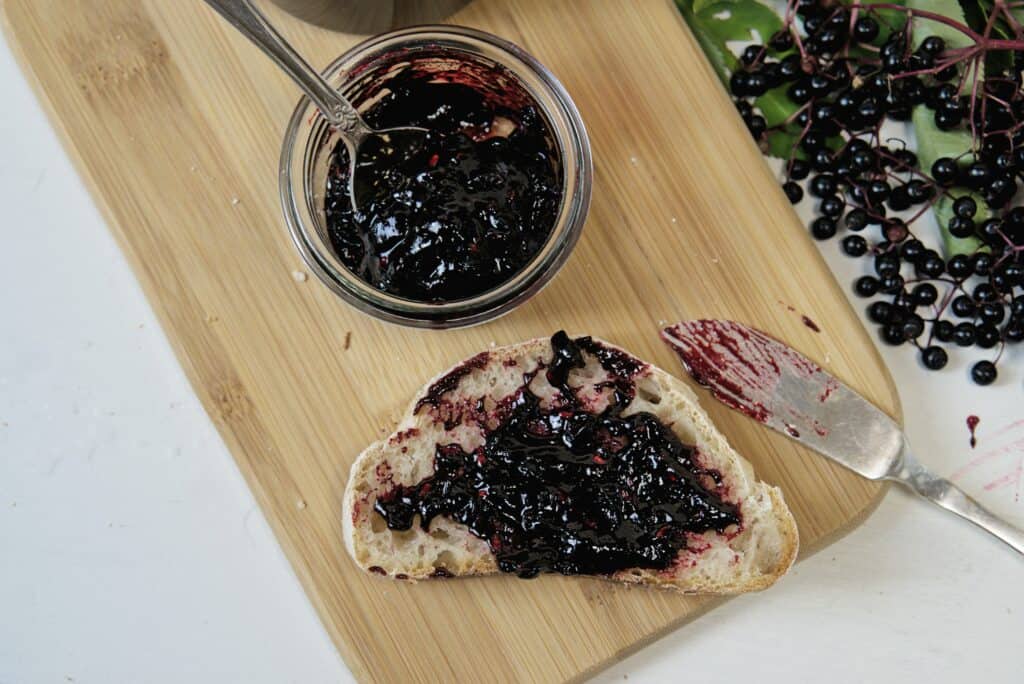
- Do the plate test. Drop a small dollop of the jam on the frozen plate and tilt it. If it has formed a skin and stopped flowing, then its ready for bottling. Alternatively you can also set the plate in the fridge for a few minutes and once the skim is formed, bottle.
- In case the skin on the jam has not formed, continue cooking and repeat the above process at intervals, till you reach the right consistency.
- Fill the jam into sterilized glass jars by setting the jar on a tea towel or a wooden board to avoid the jars from cracking.
Notes
Tips to make Homemade Elderberry Jam
- Pick the berries only when ripe.
- Since elderberries in their raw form contain a constituent similar to cyanide, always cook these berries before consuming.
- Canning the jam will help to preserve the jam longer.
- Keep a plate in a freezer so you can test if the jam has achieved the right consistency before bottling.
- Lemon juice brings back the vibrant colors of the cooked elderberries.
- Bottle the jam by setting the glass jars on a wooden board otherwise, the jars will crack.
- Use appropriate tools in order to prevent burns and scalding, since the cooked jam is very hot.
- Prep Time: 30 Minutes
- Cook Time: 30 Minutes
- Category: Jams & Jellys
Nutrition
- Serving Size: 20